Scope and Purpose
This guide outlines the procedure for integrating routers based on icom OS into your icom Router Management account. It supports both:
Single device addition for isolated or initial setups
Bulk device onboarding for fleet rollouts
Compatible Routers
Please be aware that only icom OS routers can be managed by iRM. Routers running on INSYS OS are not supported.
Prerequisites
Access to an active icom Router Management account
Routers with icom OS firmware
Router serial number (s)
Stable Internet connection for each router
Administrative access to the router’s web interface
Optional: router group(s) already defined in iRM for logical structuring
Adding a Single Router
Step 1: Add the Router in iRM
Log in to icom Router Management.
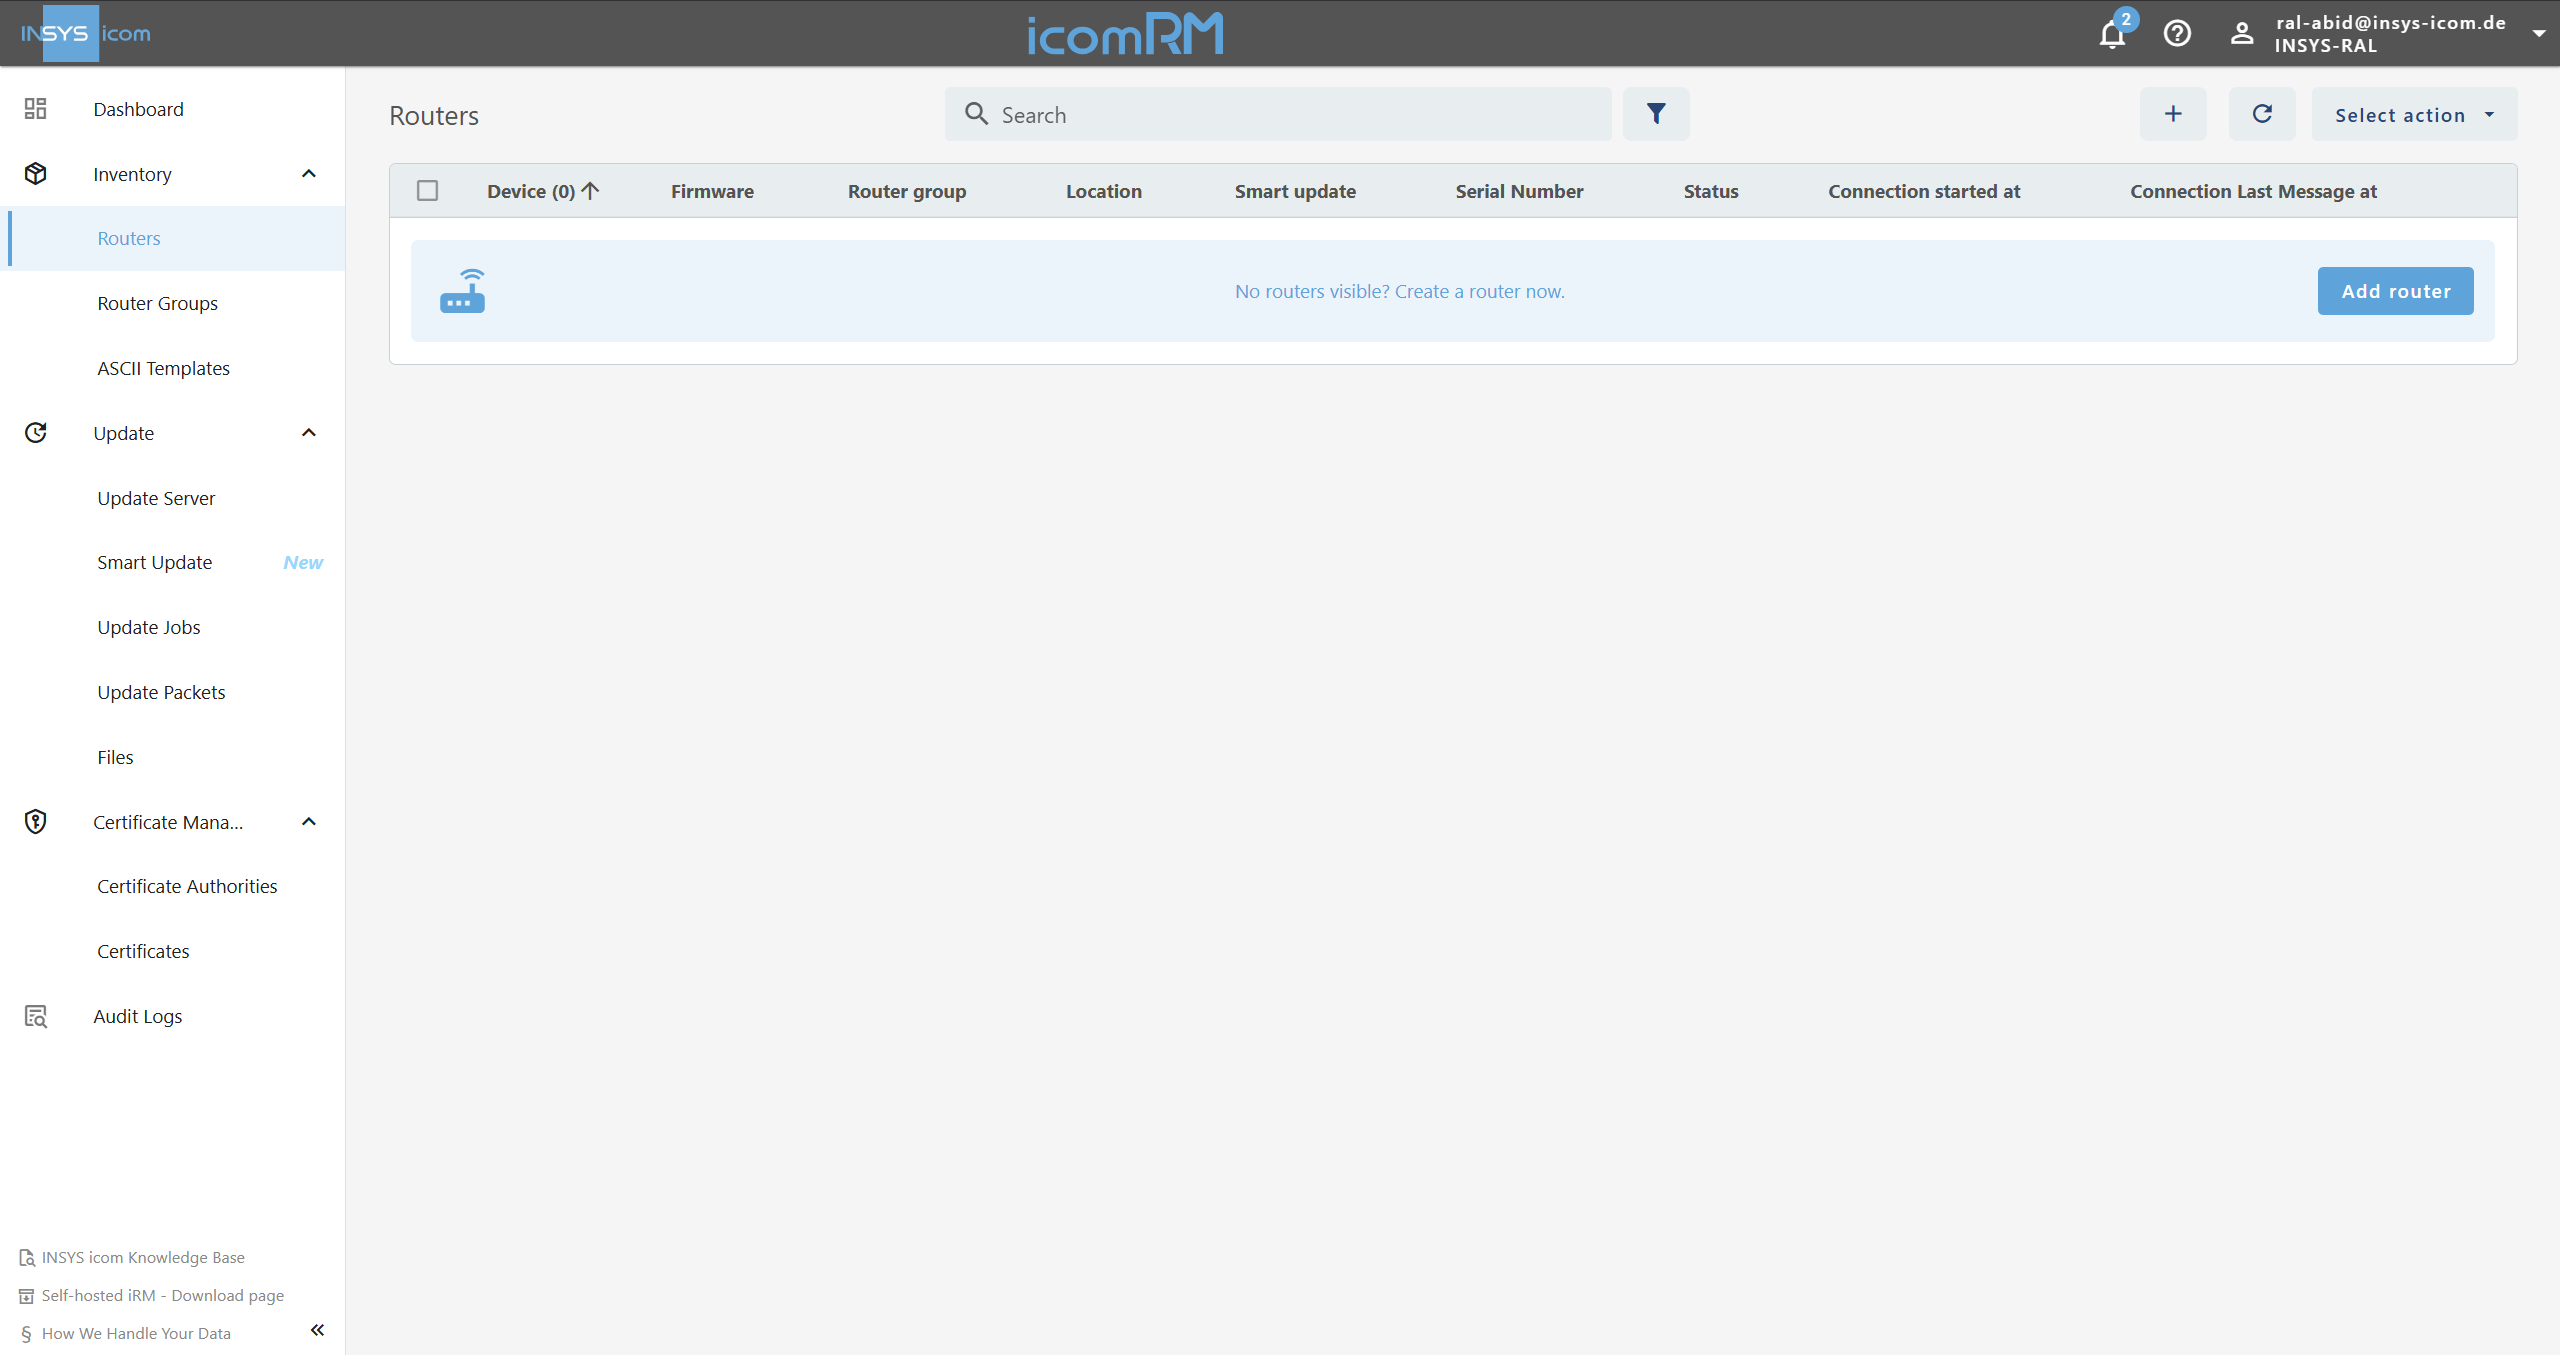
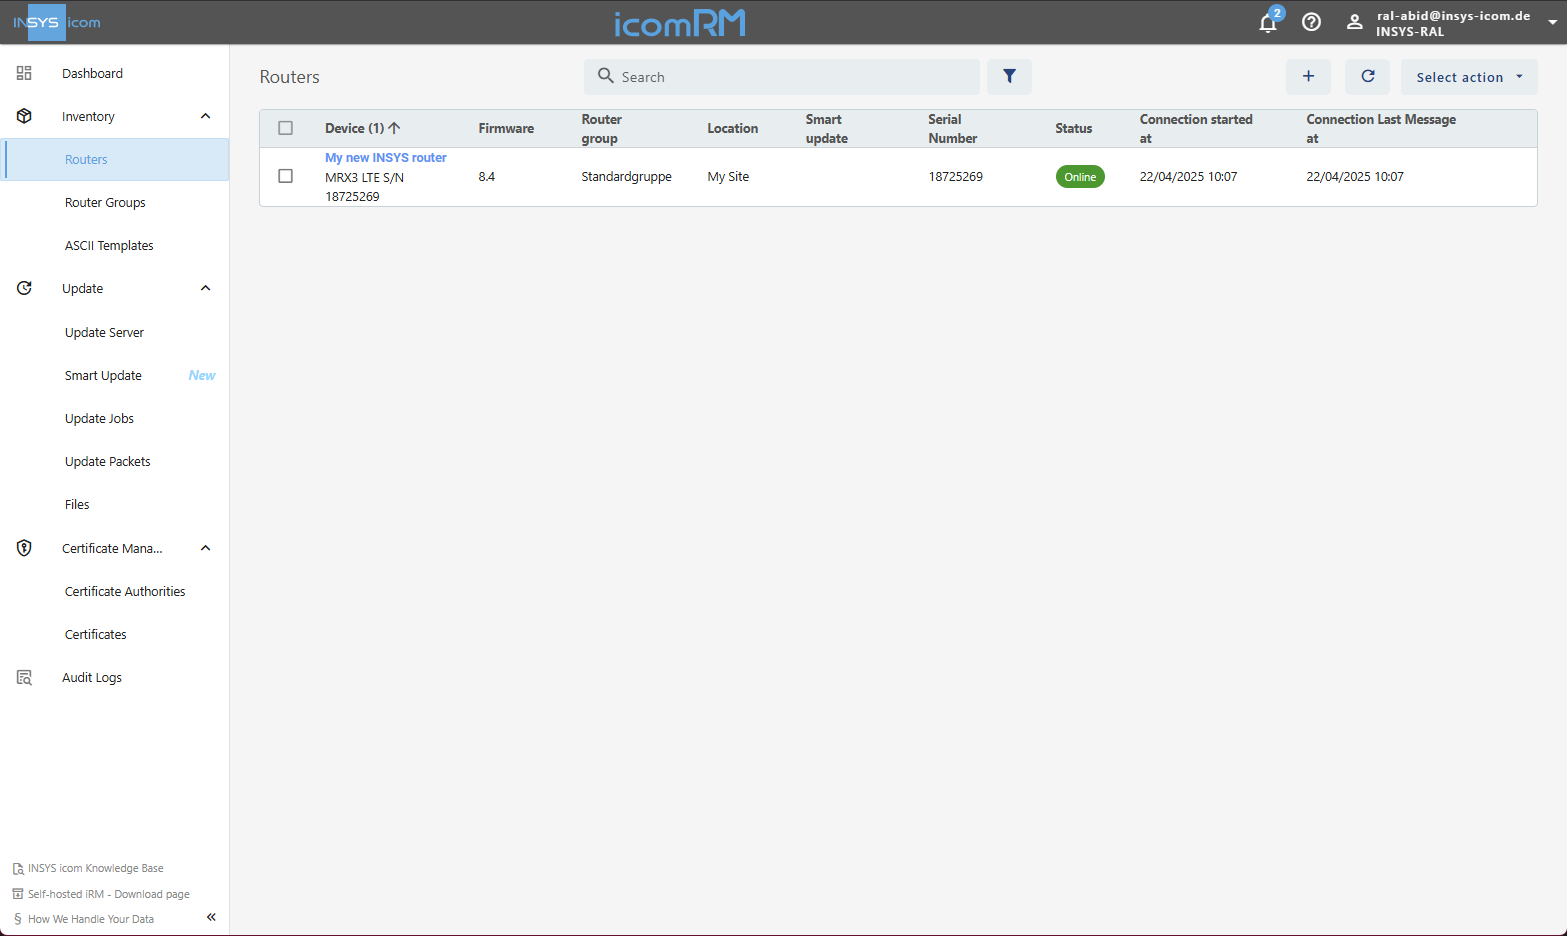
Navigate to:
 Inventory → Routers
Click on the Add router button, click on the “+” icon, or choose “Add” from the “Select action” dropdown.
Provide:
Router Name (descriptive)
Serial Number (visible on router label or in the Web UI of the router:
Status→Dashboard)Optional: Location
Router Group (select an existing group)
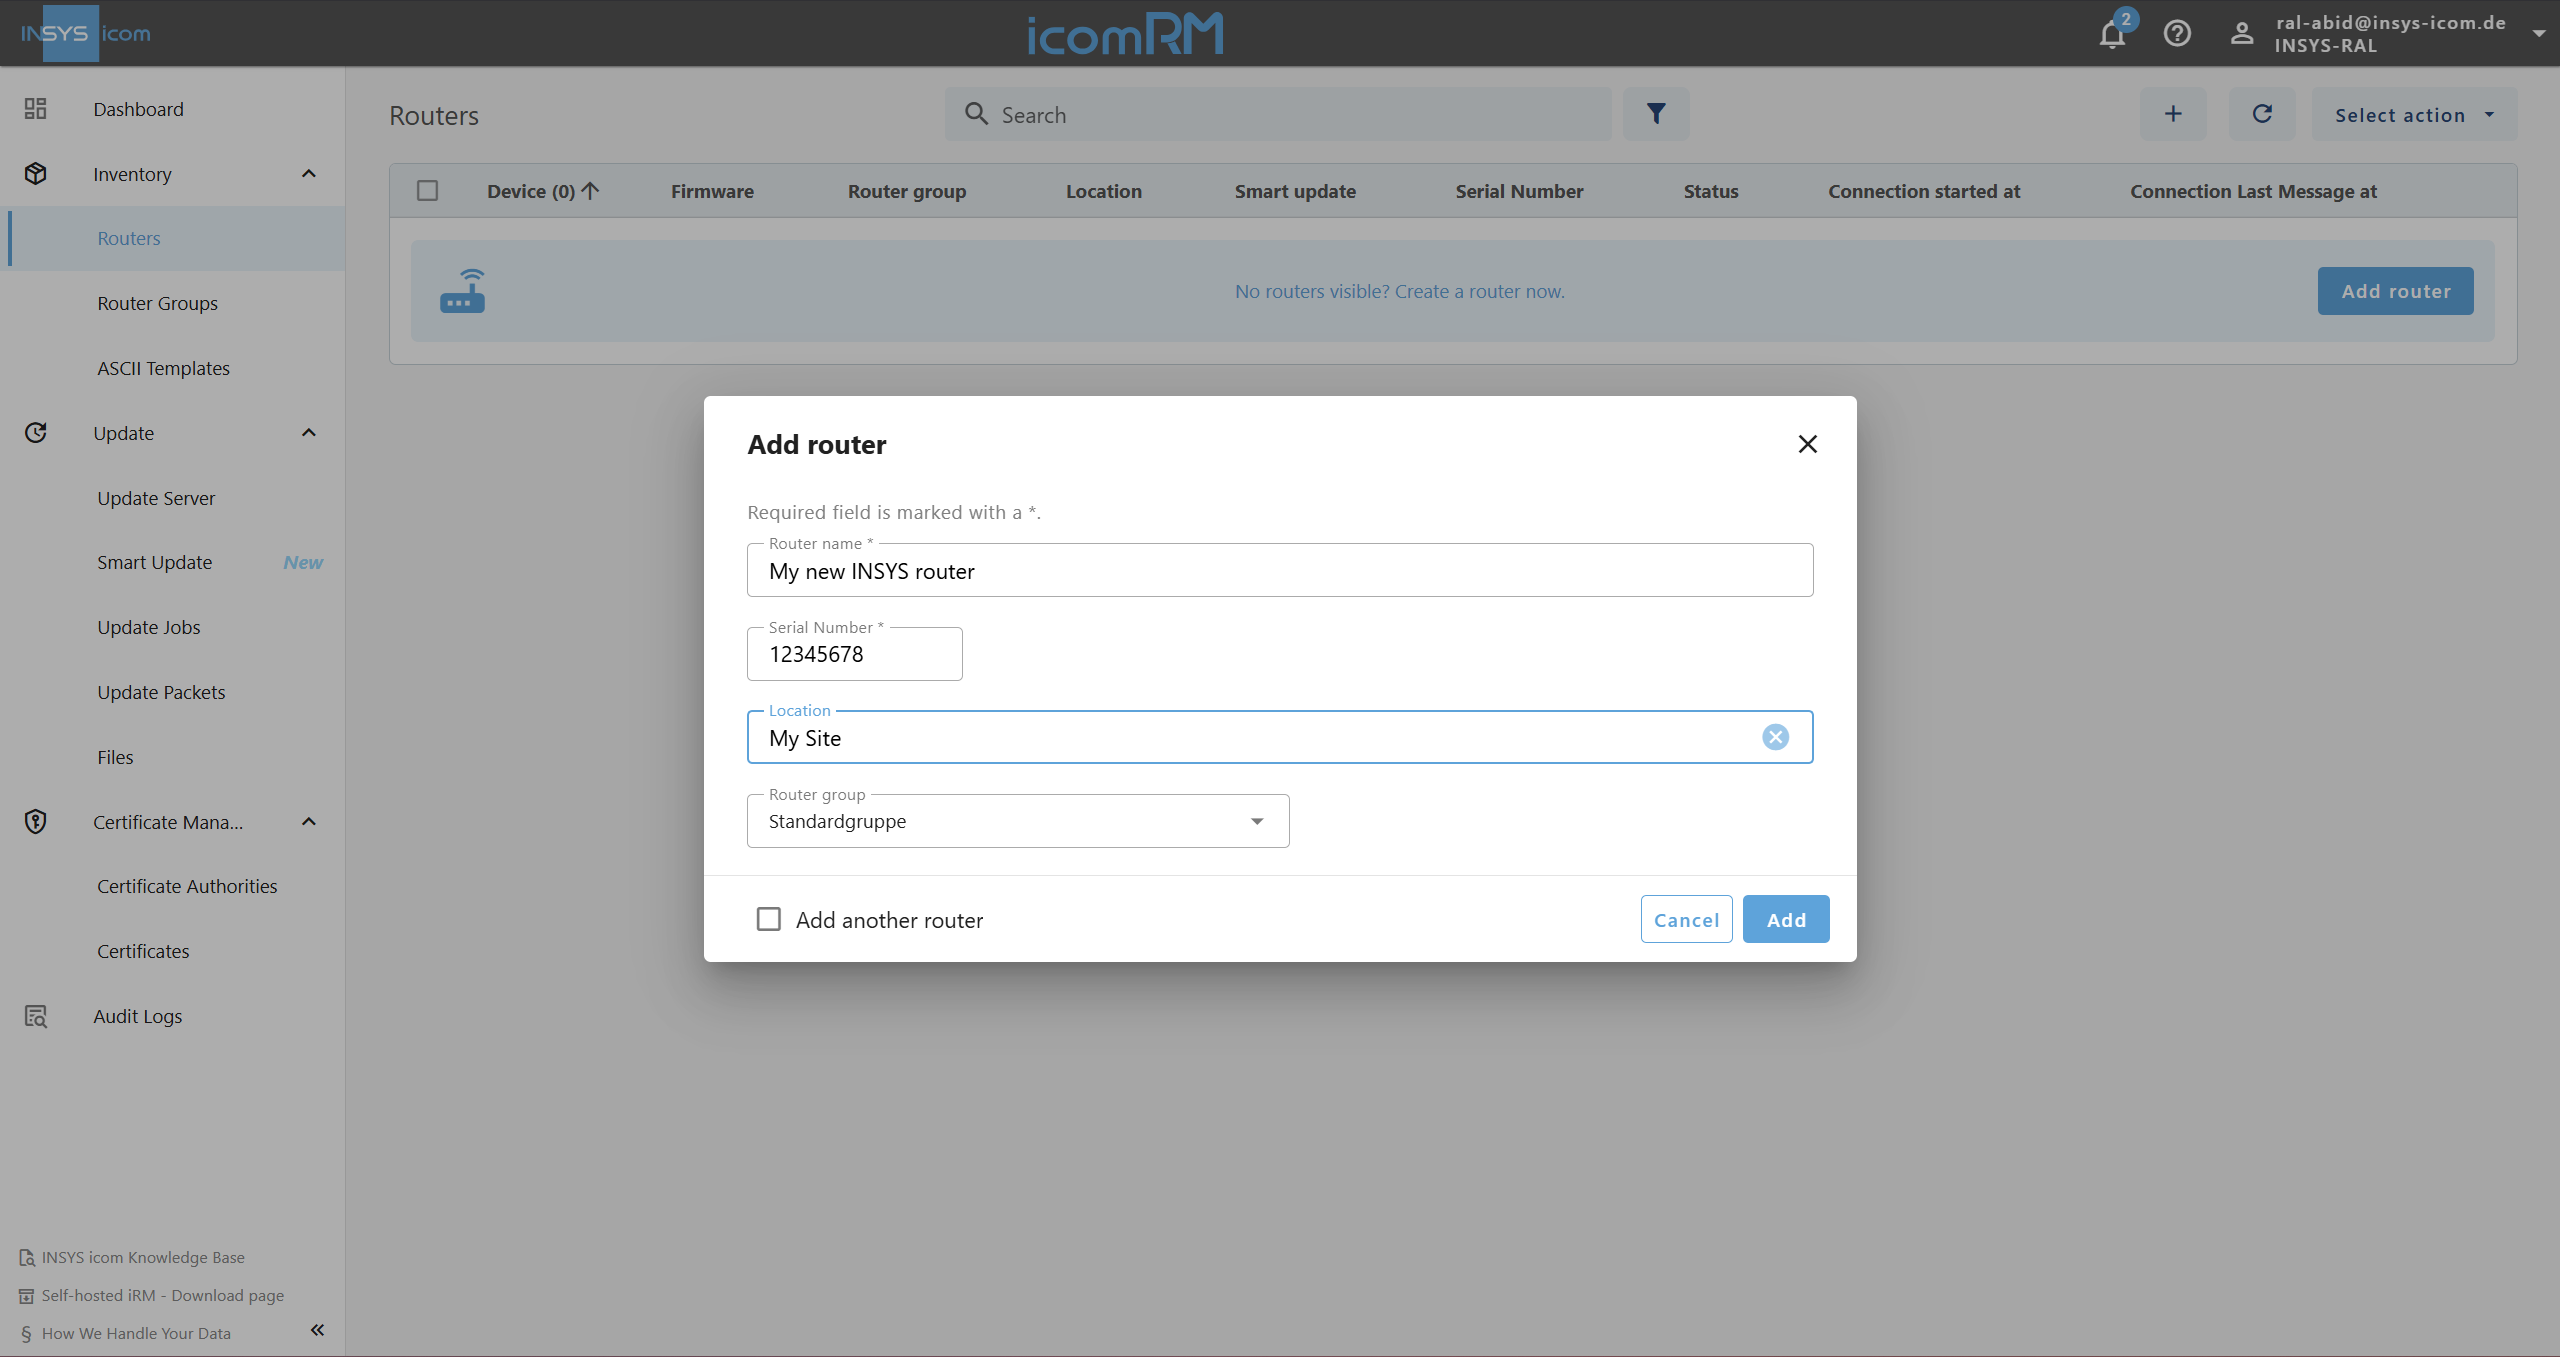
Click Add to register the device.
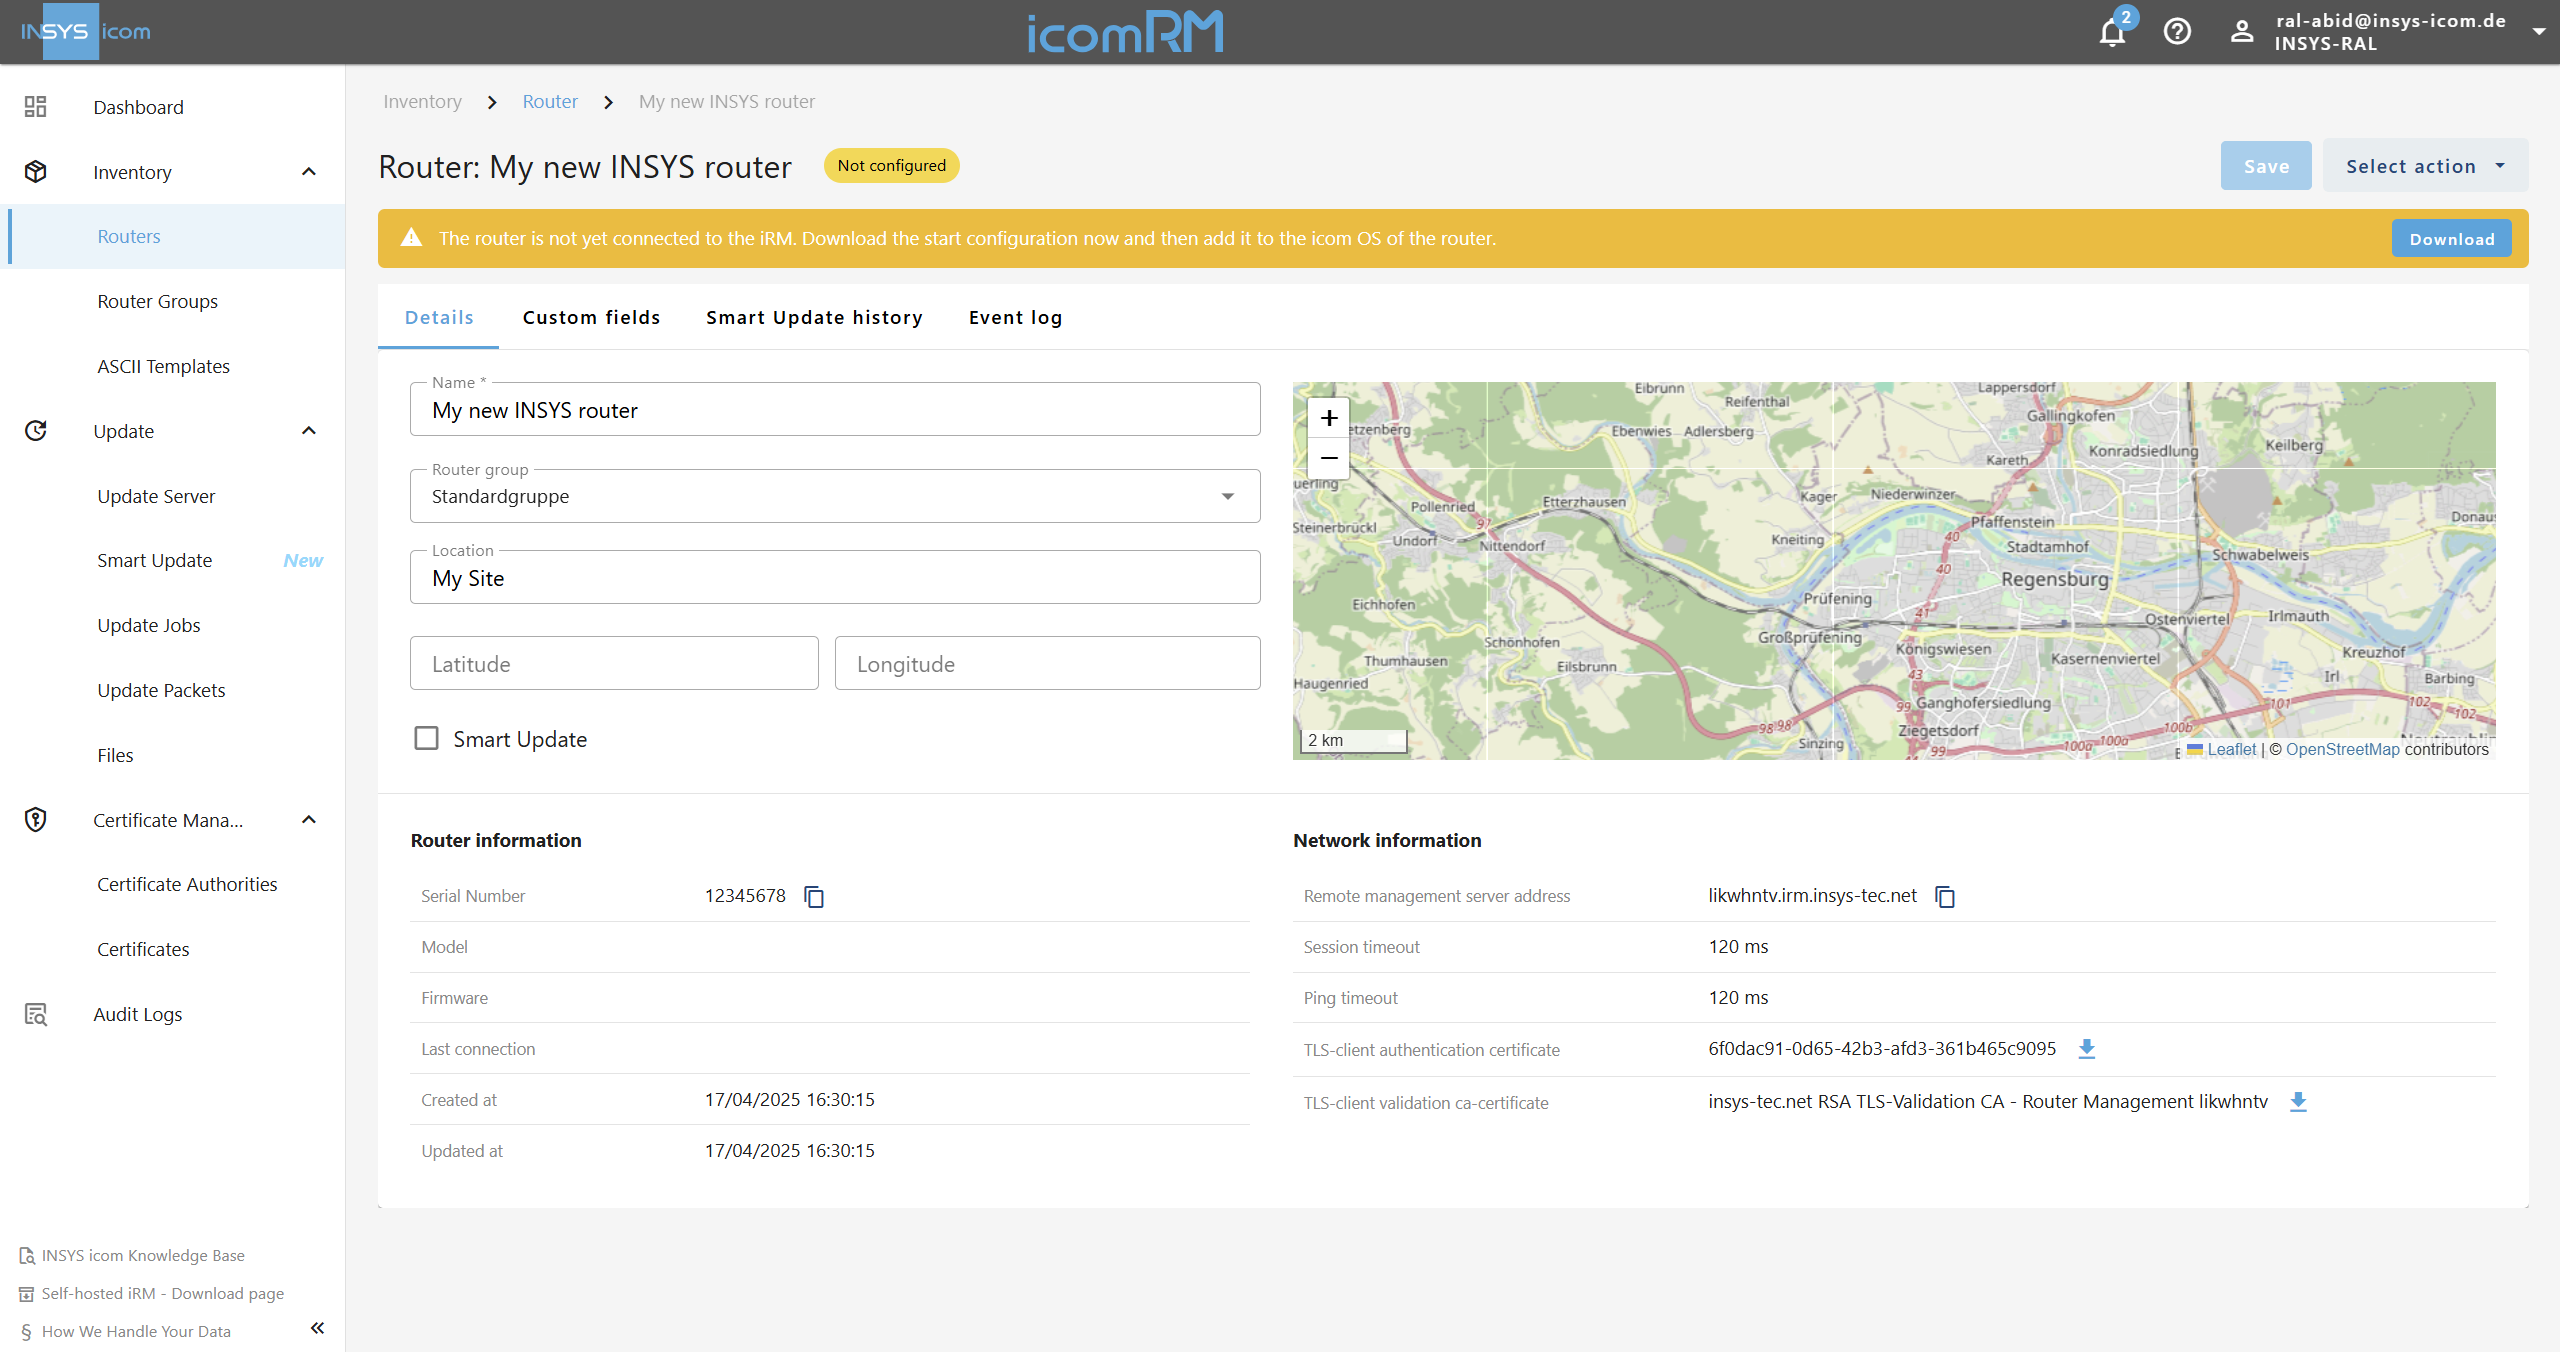
Step 2: Download Start Configuration
Use the Download button in the top right to download the router’s individual start configuration.
Step 3: Upload Configuration to Router
Ensure Internet connection!
The router must have Internet connection to be able to connect to the icom Router Management. The easiest way to establish it is using the
Startup wizard under Help → Wizards.
Note for routers behind an external firewall!
Please note the instructions for routers behind an external firewall on the Startup wizard page.
Make sure your router and your computer are in the same network.
Access the router’s web interface:
https://192.168.1.1Skip the warning about insecure connection. This is due a self-signed certificate.
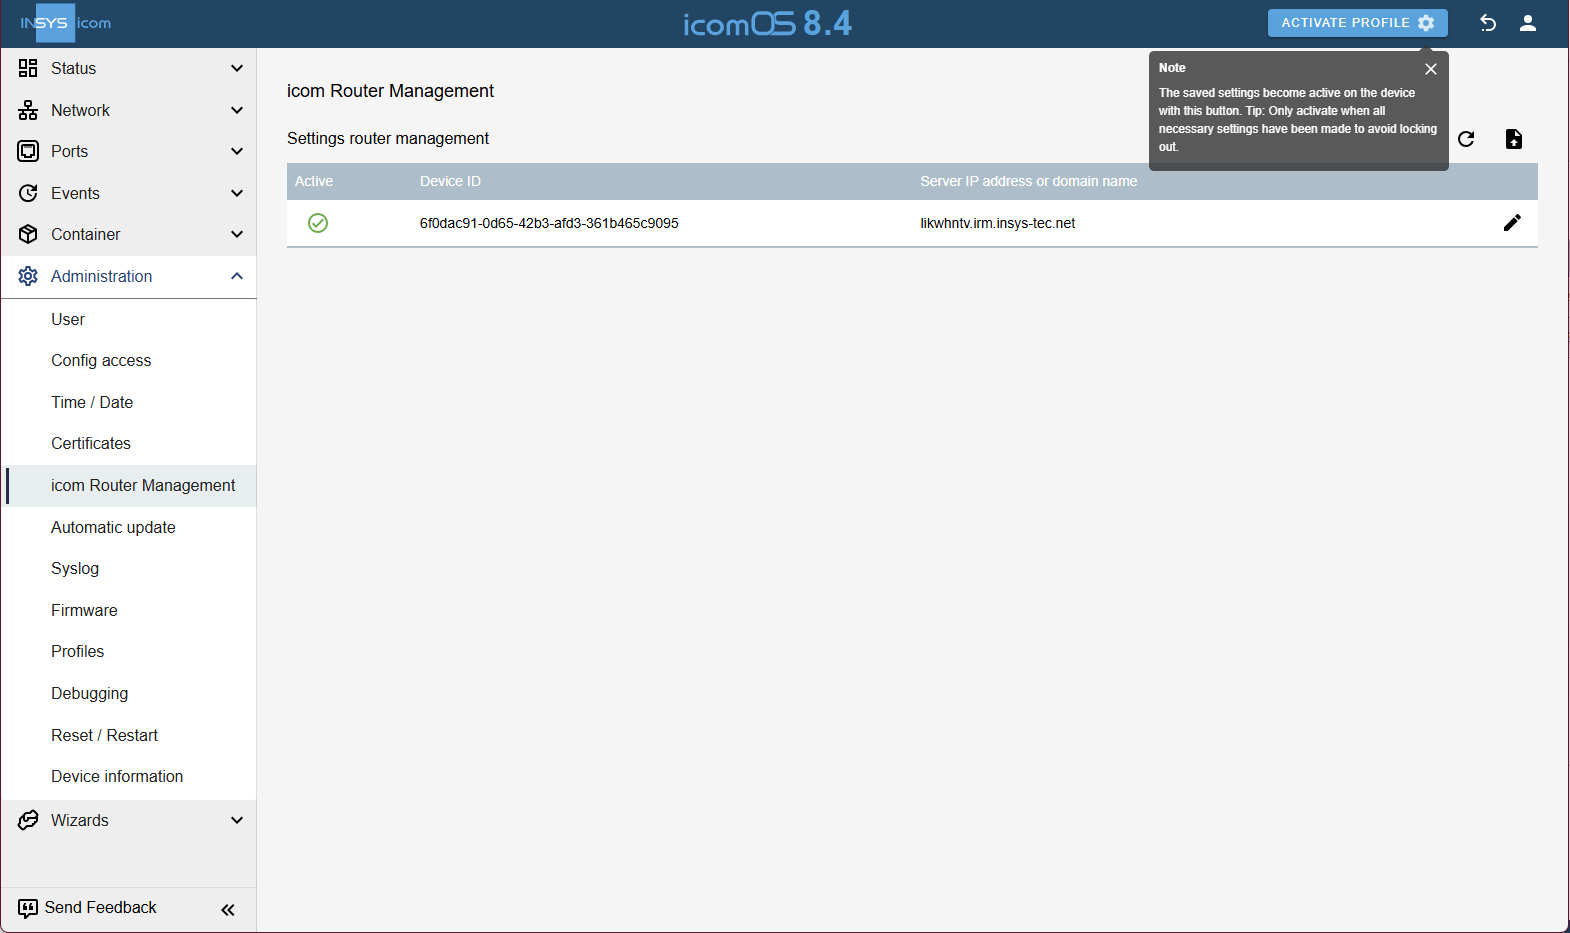
Navigate to
 Administration → icom Router Management
Click on the
 File Upload button.
.png)
Upload the configuration file you downloaded in Step 2 and click on SUBMIT.
Click on ACTIVATE PROFILE .
Back in icom Router Management, you should now see the router being online. This can take a few minutes.
Adding Multiple Routers (Bulk Import)
Step 1: Prepare Bulk Import File
Log in to icom Router Management.
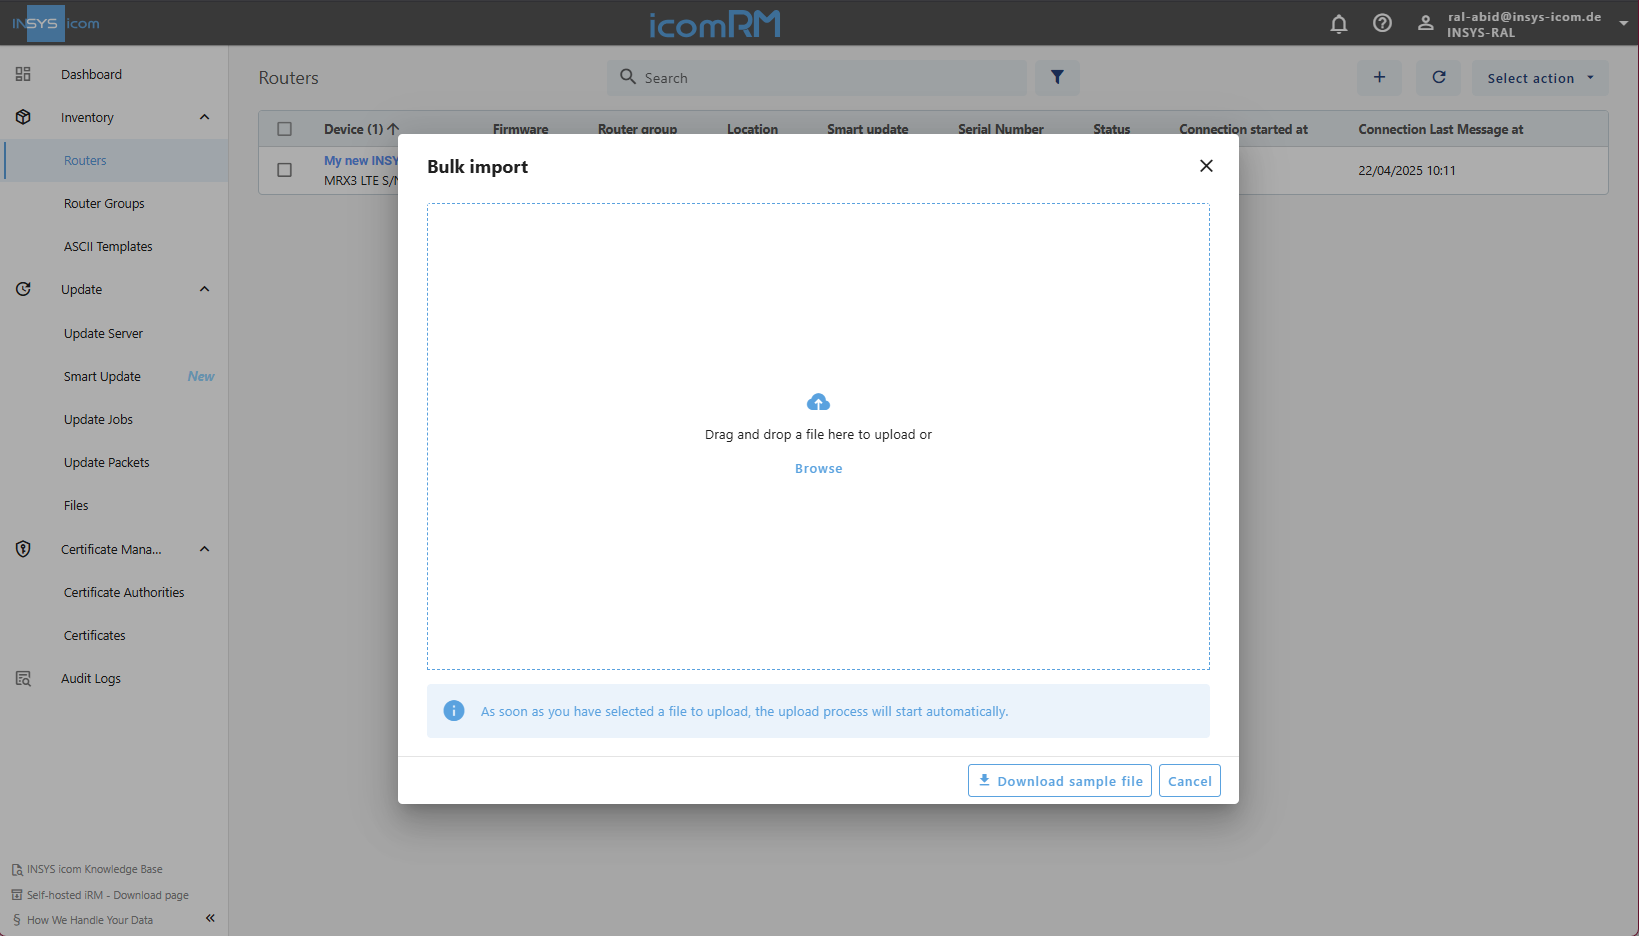
Navigate to
Inventory → Router, and choose “Bulk import” from the “Select action” dropdown.Use the button at the bottom to “Download sample file”.
Open the
.csvfile and provide the data for each new router:name: Router name (descriptive)groupName: Router group (must exist in iRM).serialNumber: The router’s serial number .location: (optional).connectionSessionTimeout: e.g.,300.connectionPingInterval: e.g.,60.connectionPongTimeout: e.g.,20.
Ensure all required fields are filled. Save as
.csvusing semicolon (;) as delimiter.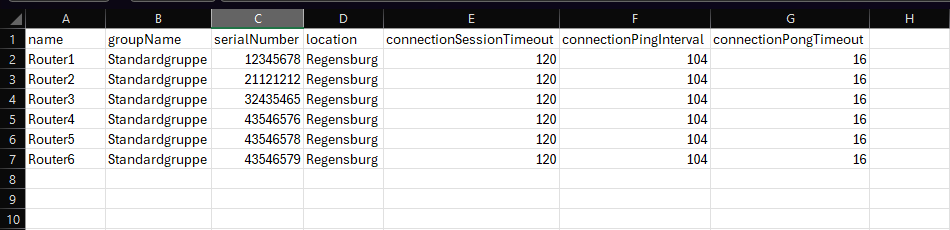
Step 2: Upload Bulk File
Upload the completed
.csvfile via the Bulk Import window.iRM will process and register each router:
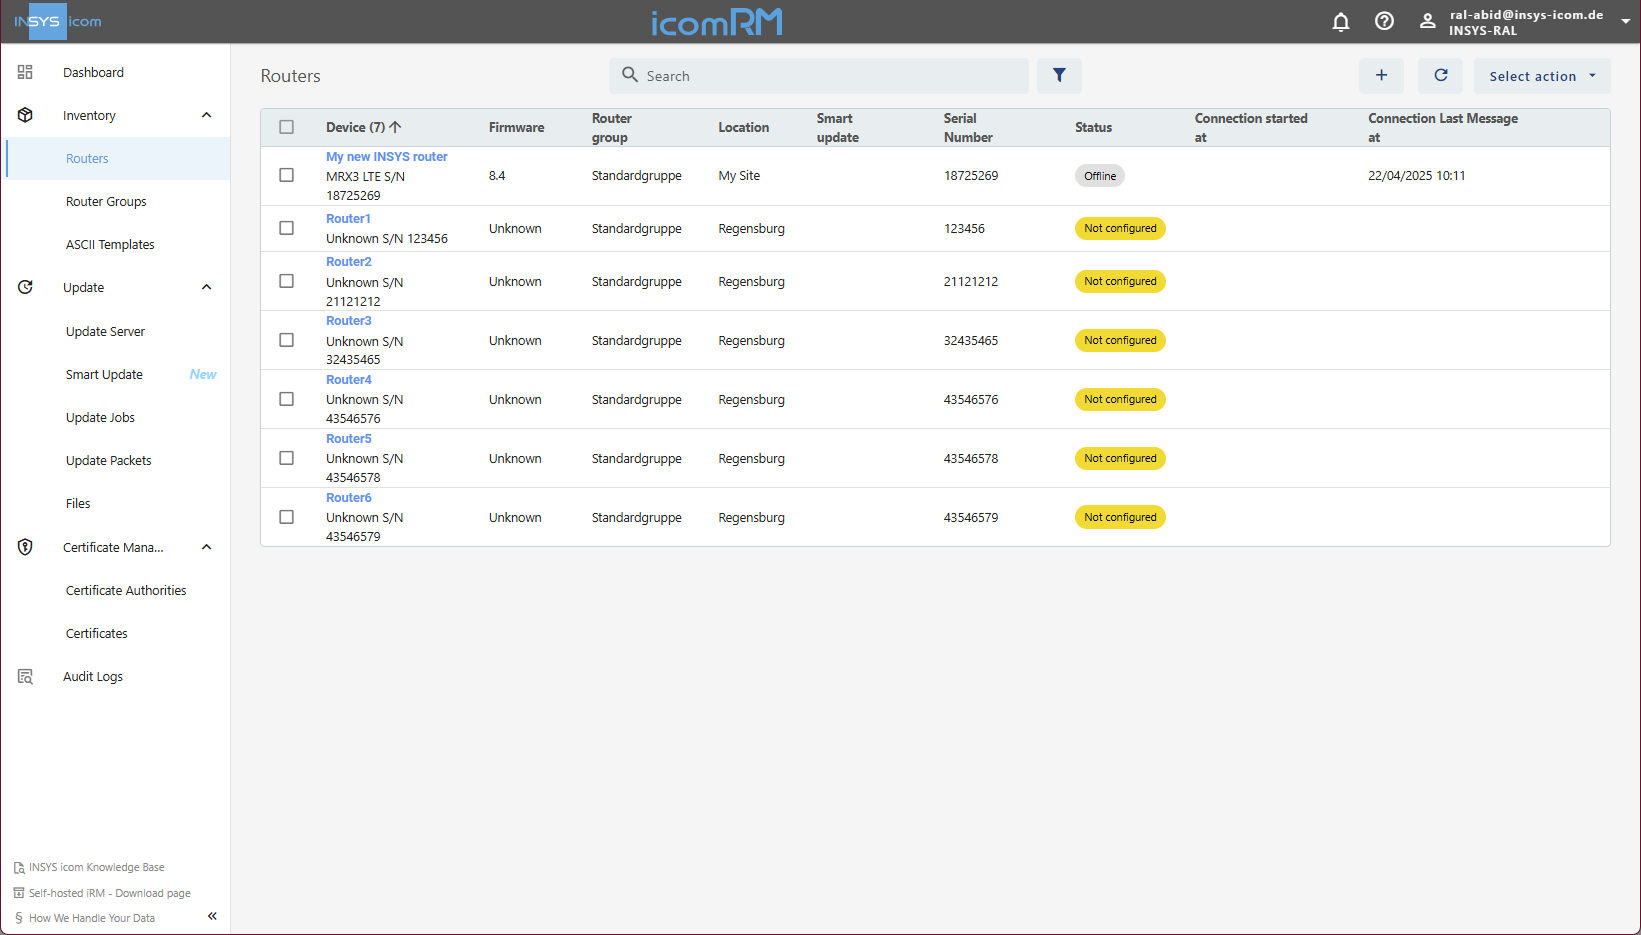
Successful imports: Routers added in state “Not configured”.
Failures: Notification with error reason (e.g., missing group, invalid format).
Step 3: Configuring the Routers
Follow the same process as outlined in section 2. for each router:
Download configuration from iRM
Upload via router web UI
Activate profile
Note
Each router must be configured individually, even after bulk addition.