Managing a large fleet of industrial routers can be complex and time-consuming. To simplify this process, icom Router Management offers the ability to group routers based on user-defined criteria. Router groups provide a powerful way to streamline operations by enabling bulk configurations, scheduled updates, and centralized management.
Typical use cases for grouping routers include:
Consistent Configuration Deployment: Apply identical configuration settings to multiple routers within a group. This ensures uniformity across devices and reduces manual configuration efforts.
Scheduled Firmware Updates: Utilize Smart Update to roll out firmware updates simultaneously to all routers in a group, with timezone-based scheduling options. Note: This feature is only available in the Cloud variant. Scheduling is only included in the "Basic" plan.
Operational Segmentation: Group routers based on location, function, or security requirements to improve organization and access control.
Custom Grouping: Users can freely create and modify groups according to their specific operational needs, ensuring flexibility in network management.
Creating a New Router Group
Tipp
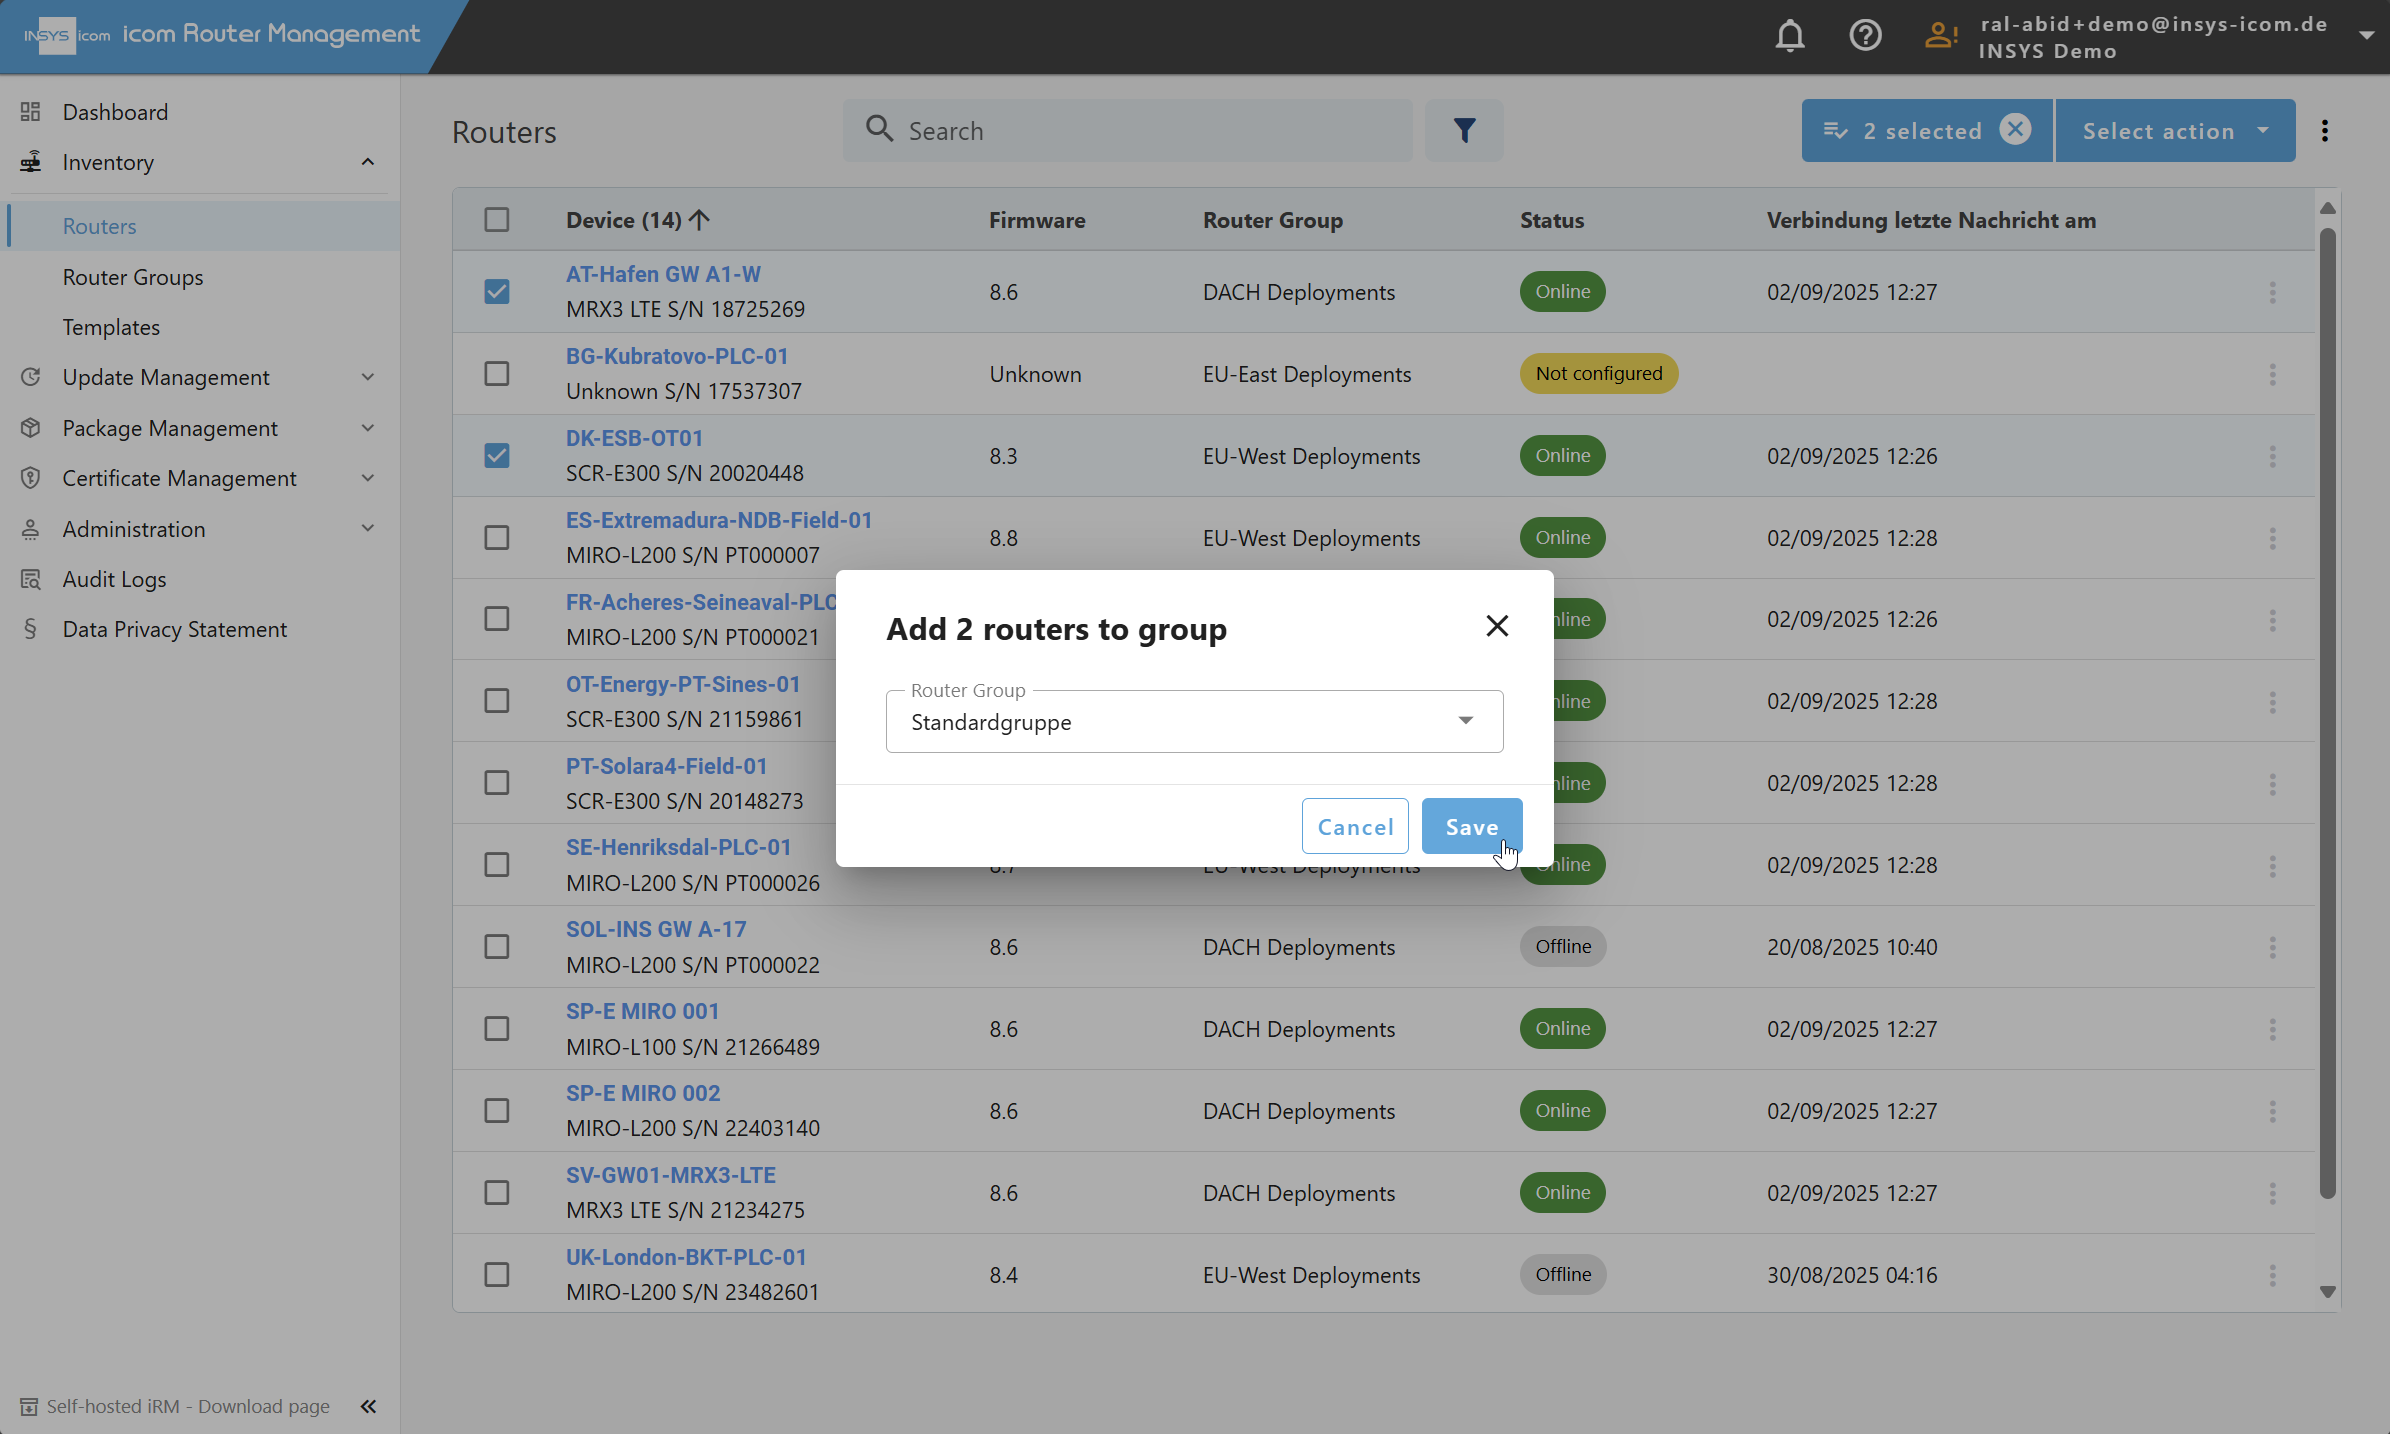
If you want to add routers to a group after creating it, visit the Routers page, select one or more routers from the table, use the Select action dropdown, click on Add to group, select a router group, and finally click Save.
Users can create router groups effortlessly within the icom Router Management interface. Each group serves as a container for a set of routers that share common management requirements.
To create a group:
Navigate to Inventory → Router Groups.
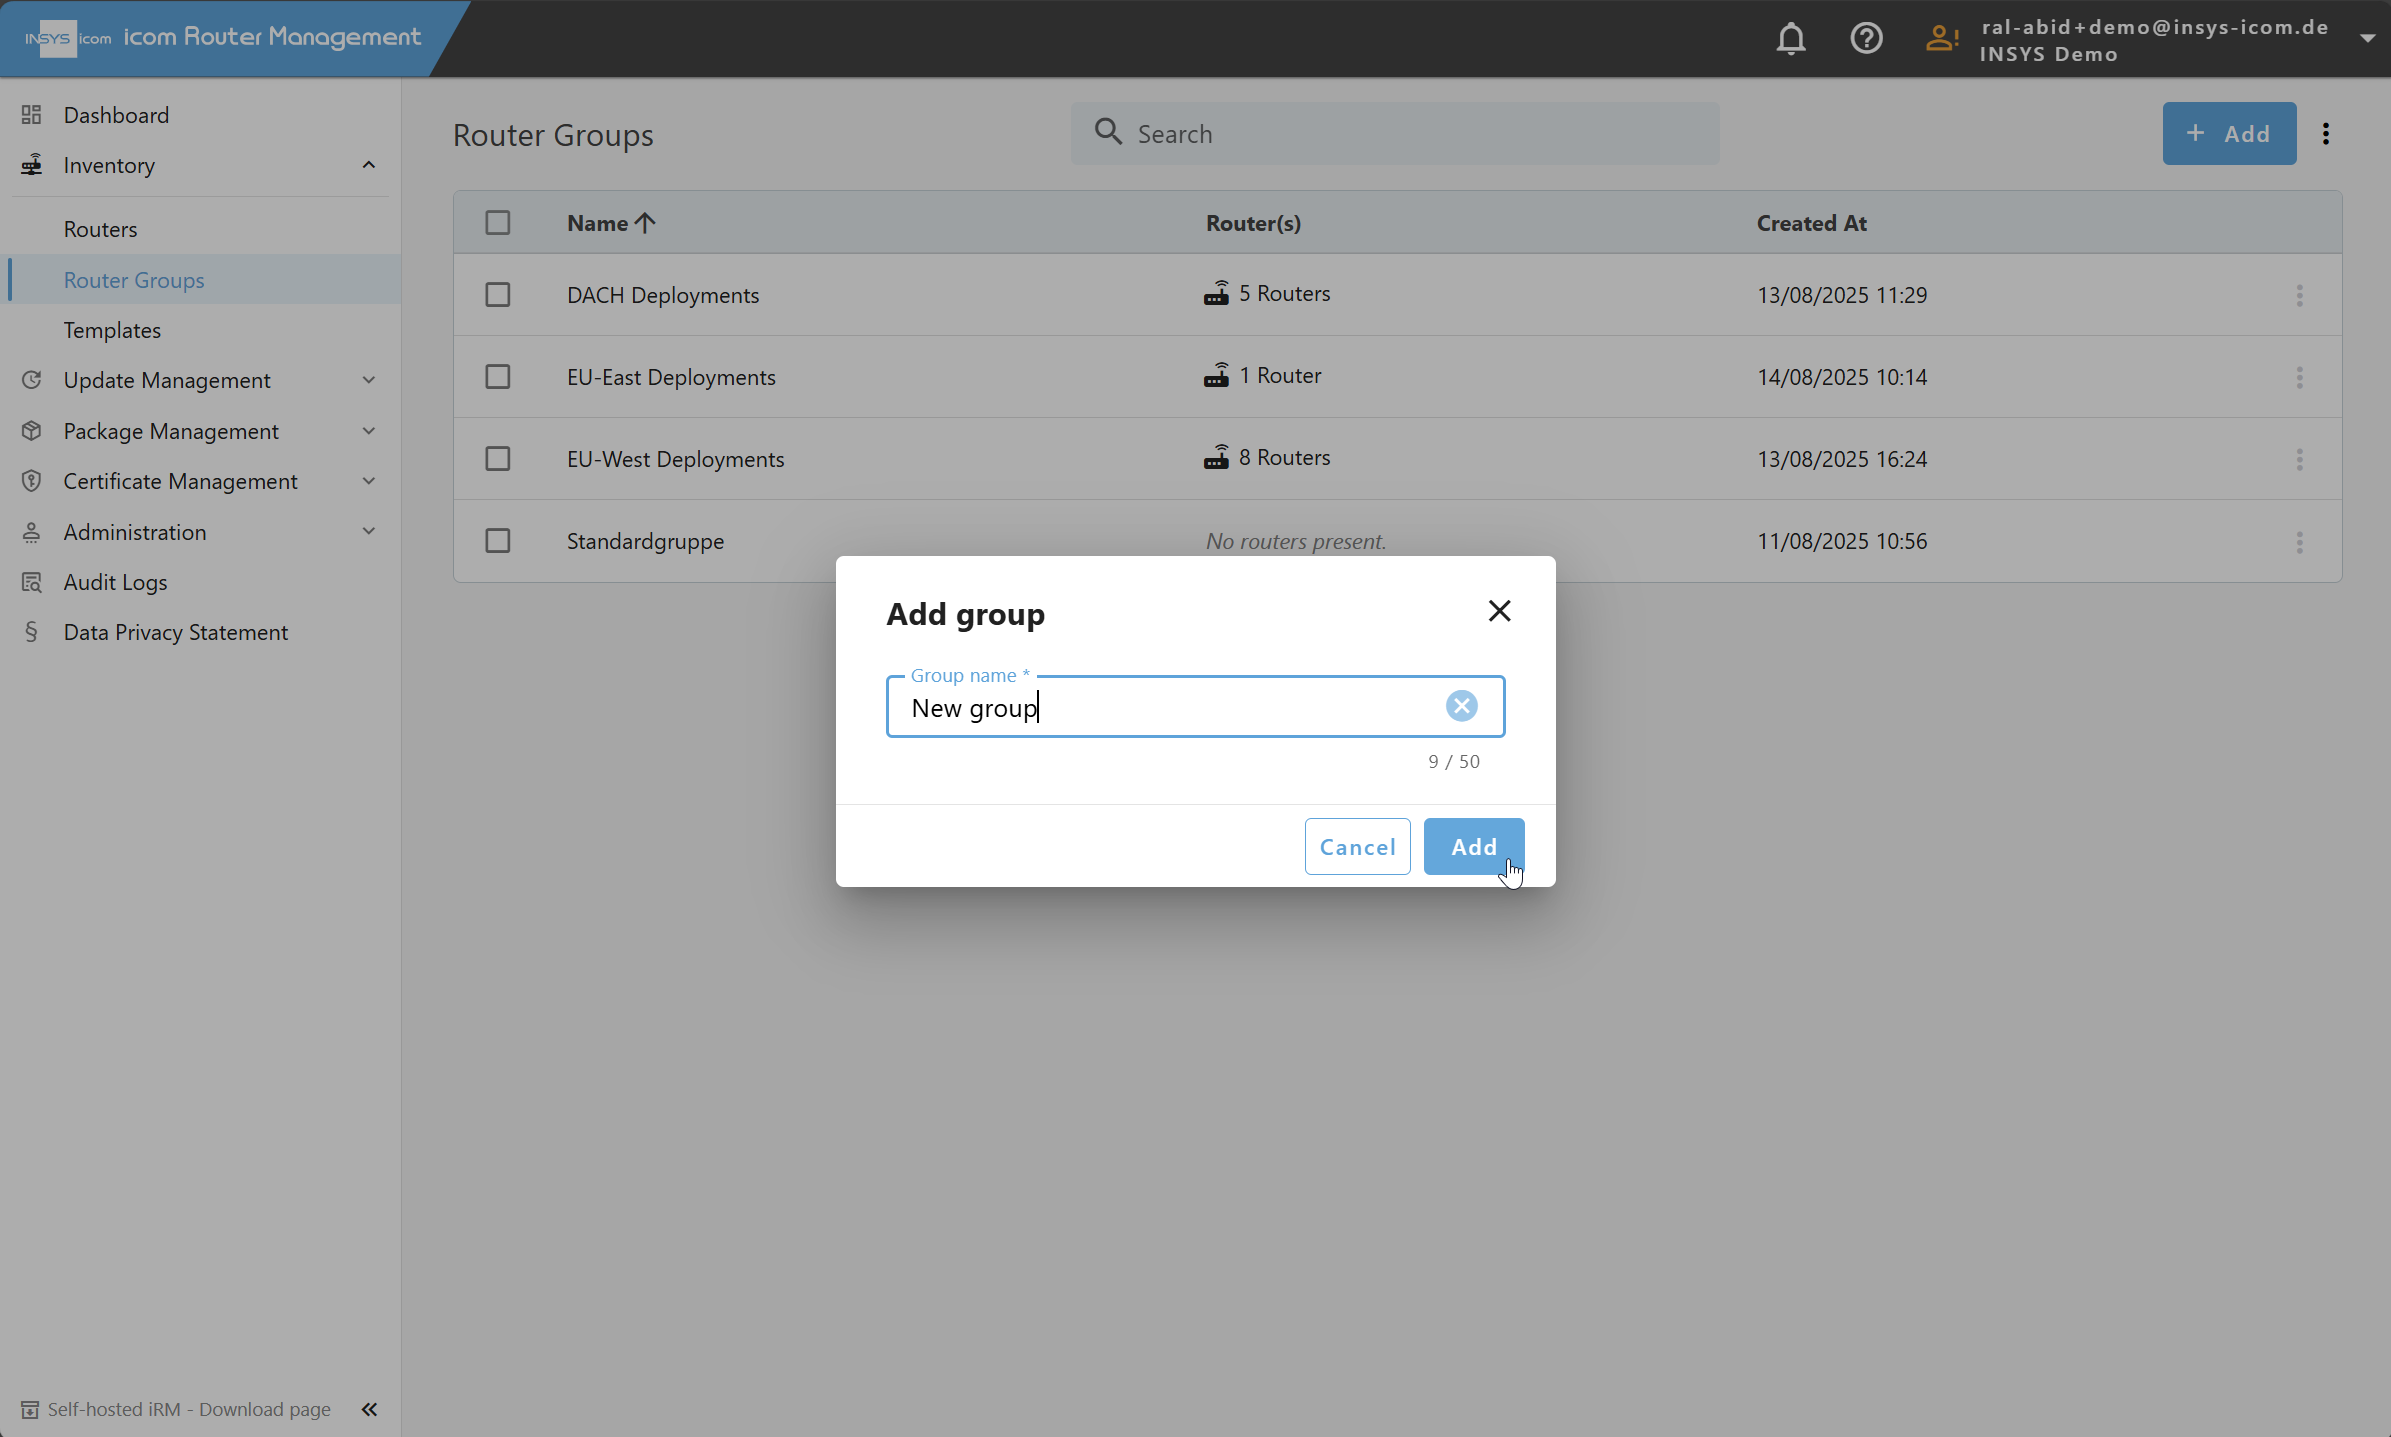
Click on the Add button.
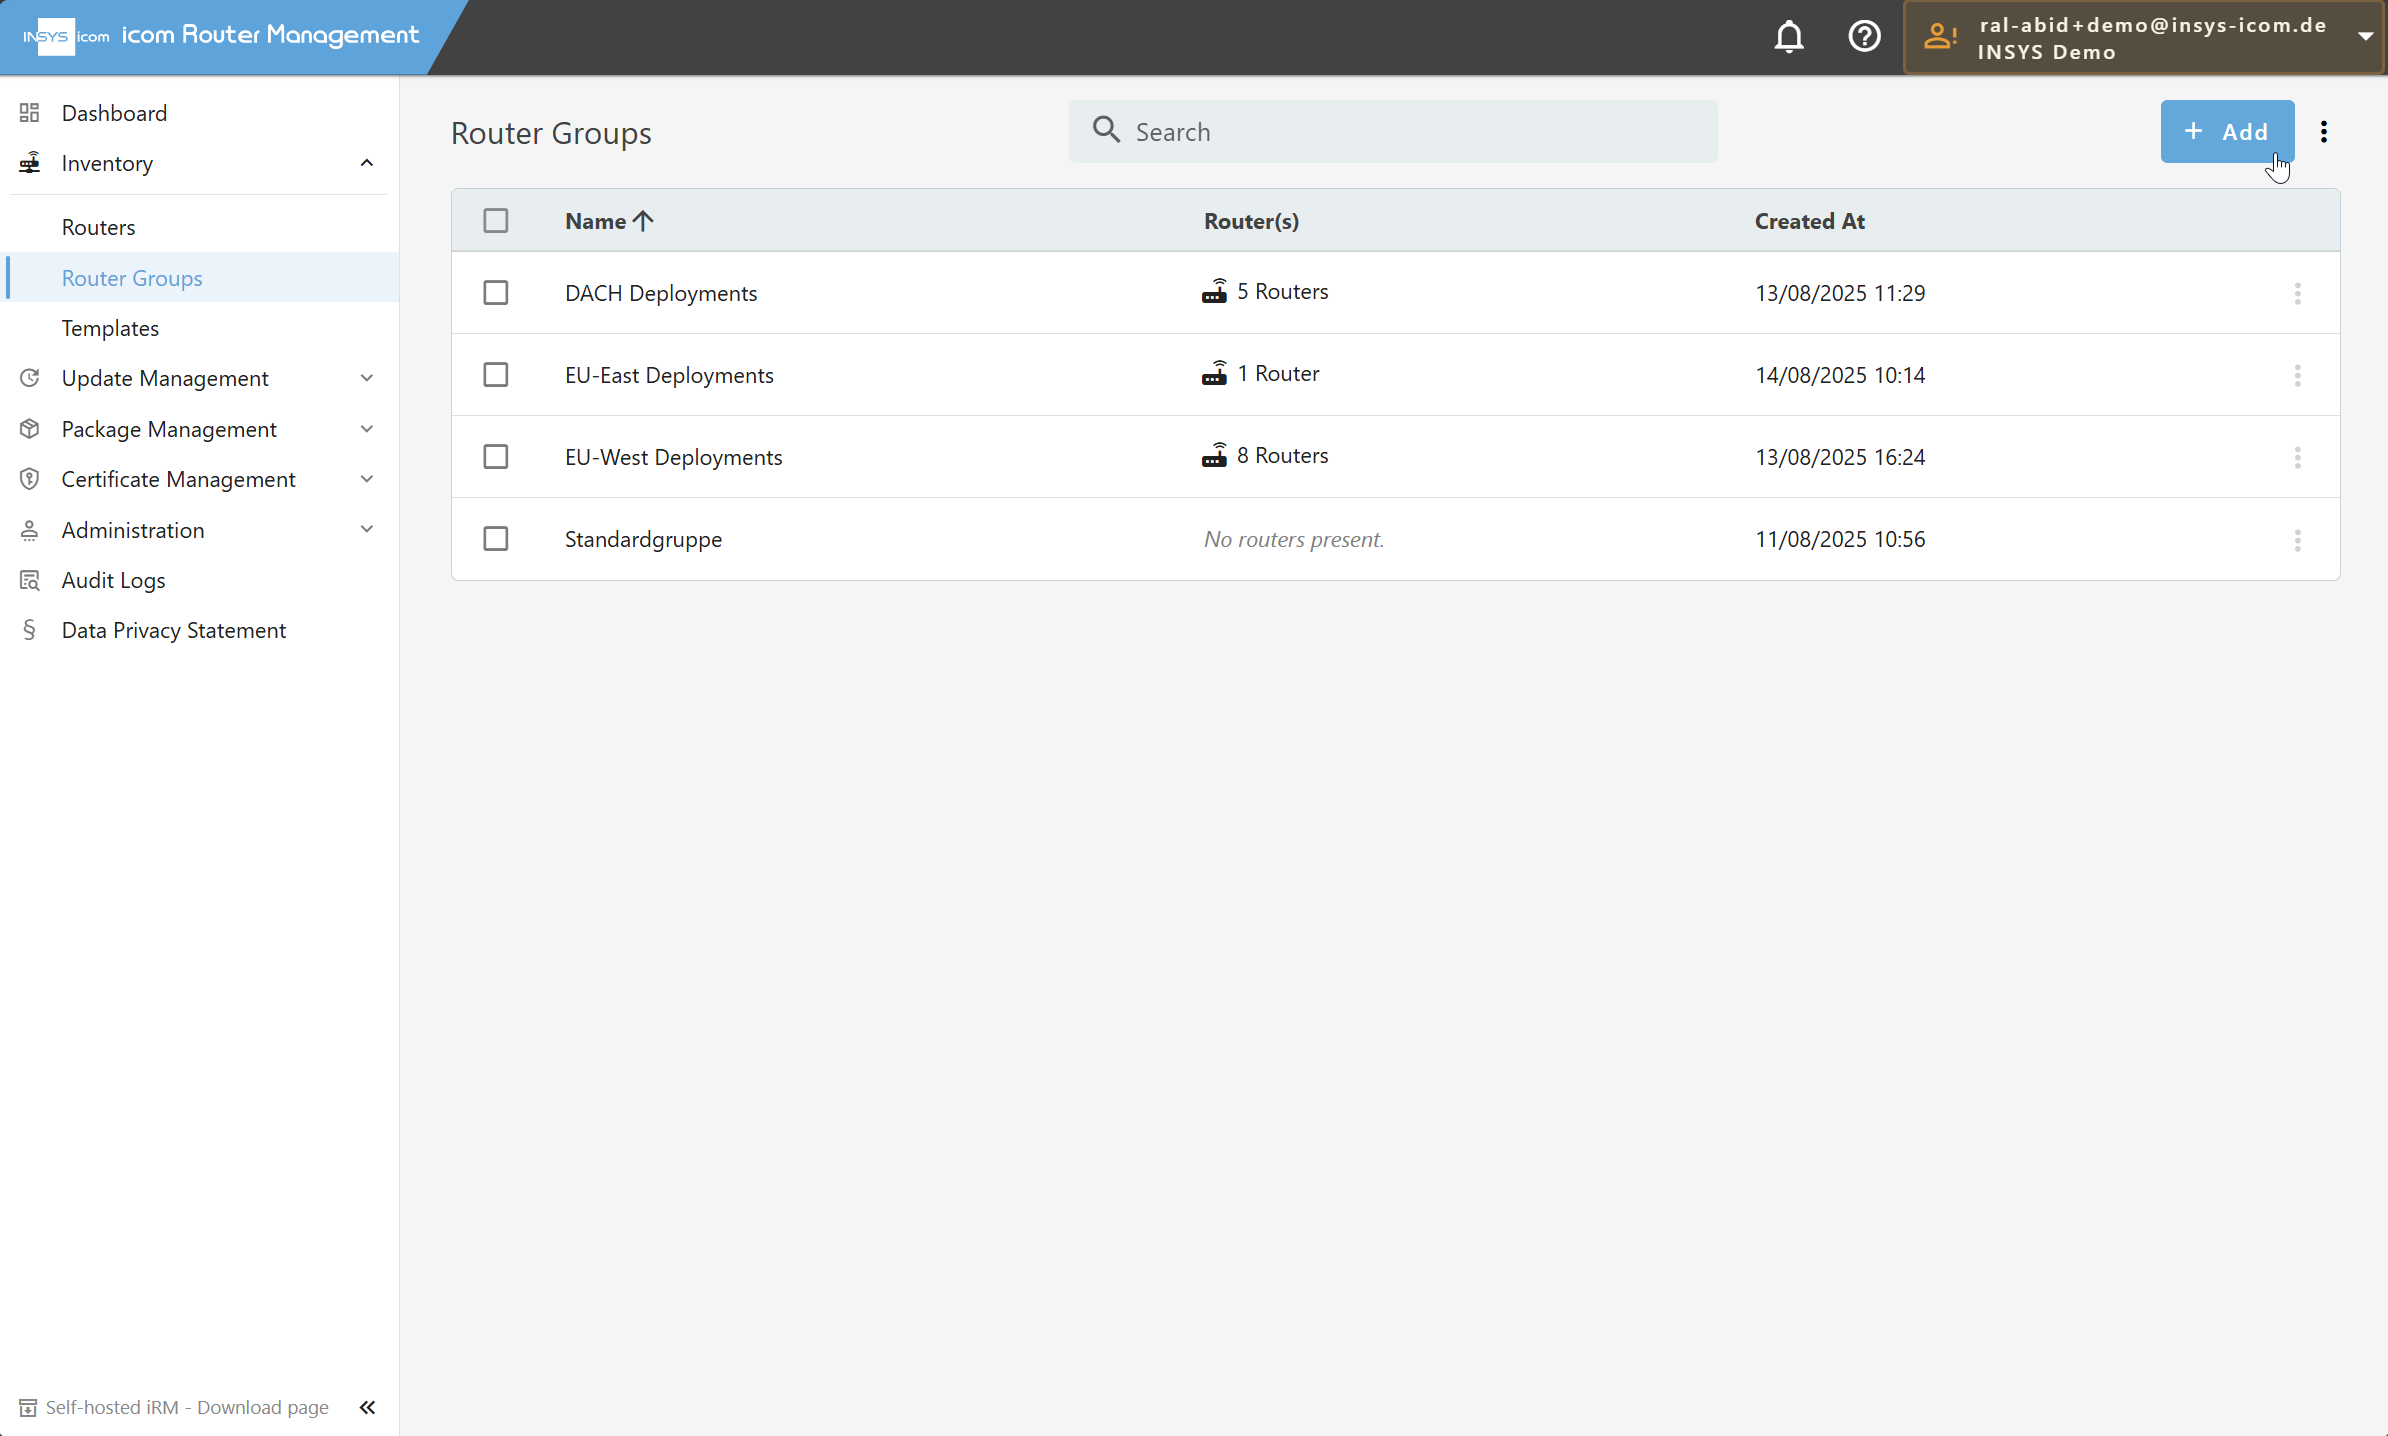
Assign a group name.
Click Add to finalize the group creation.
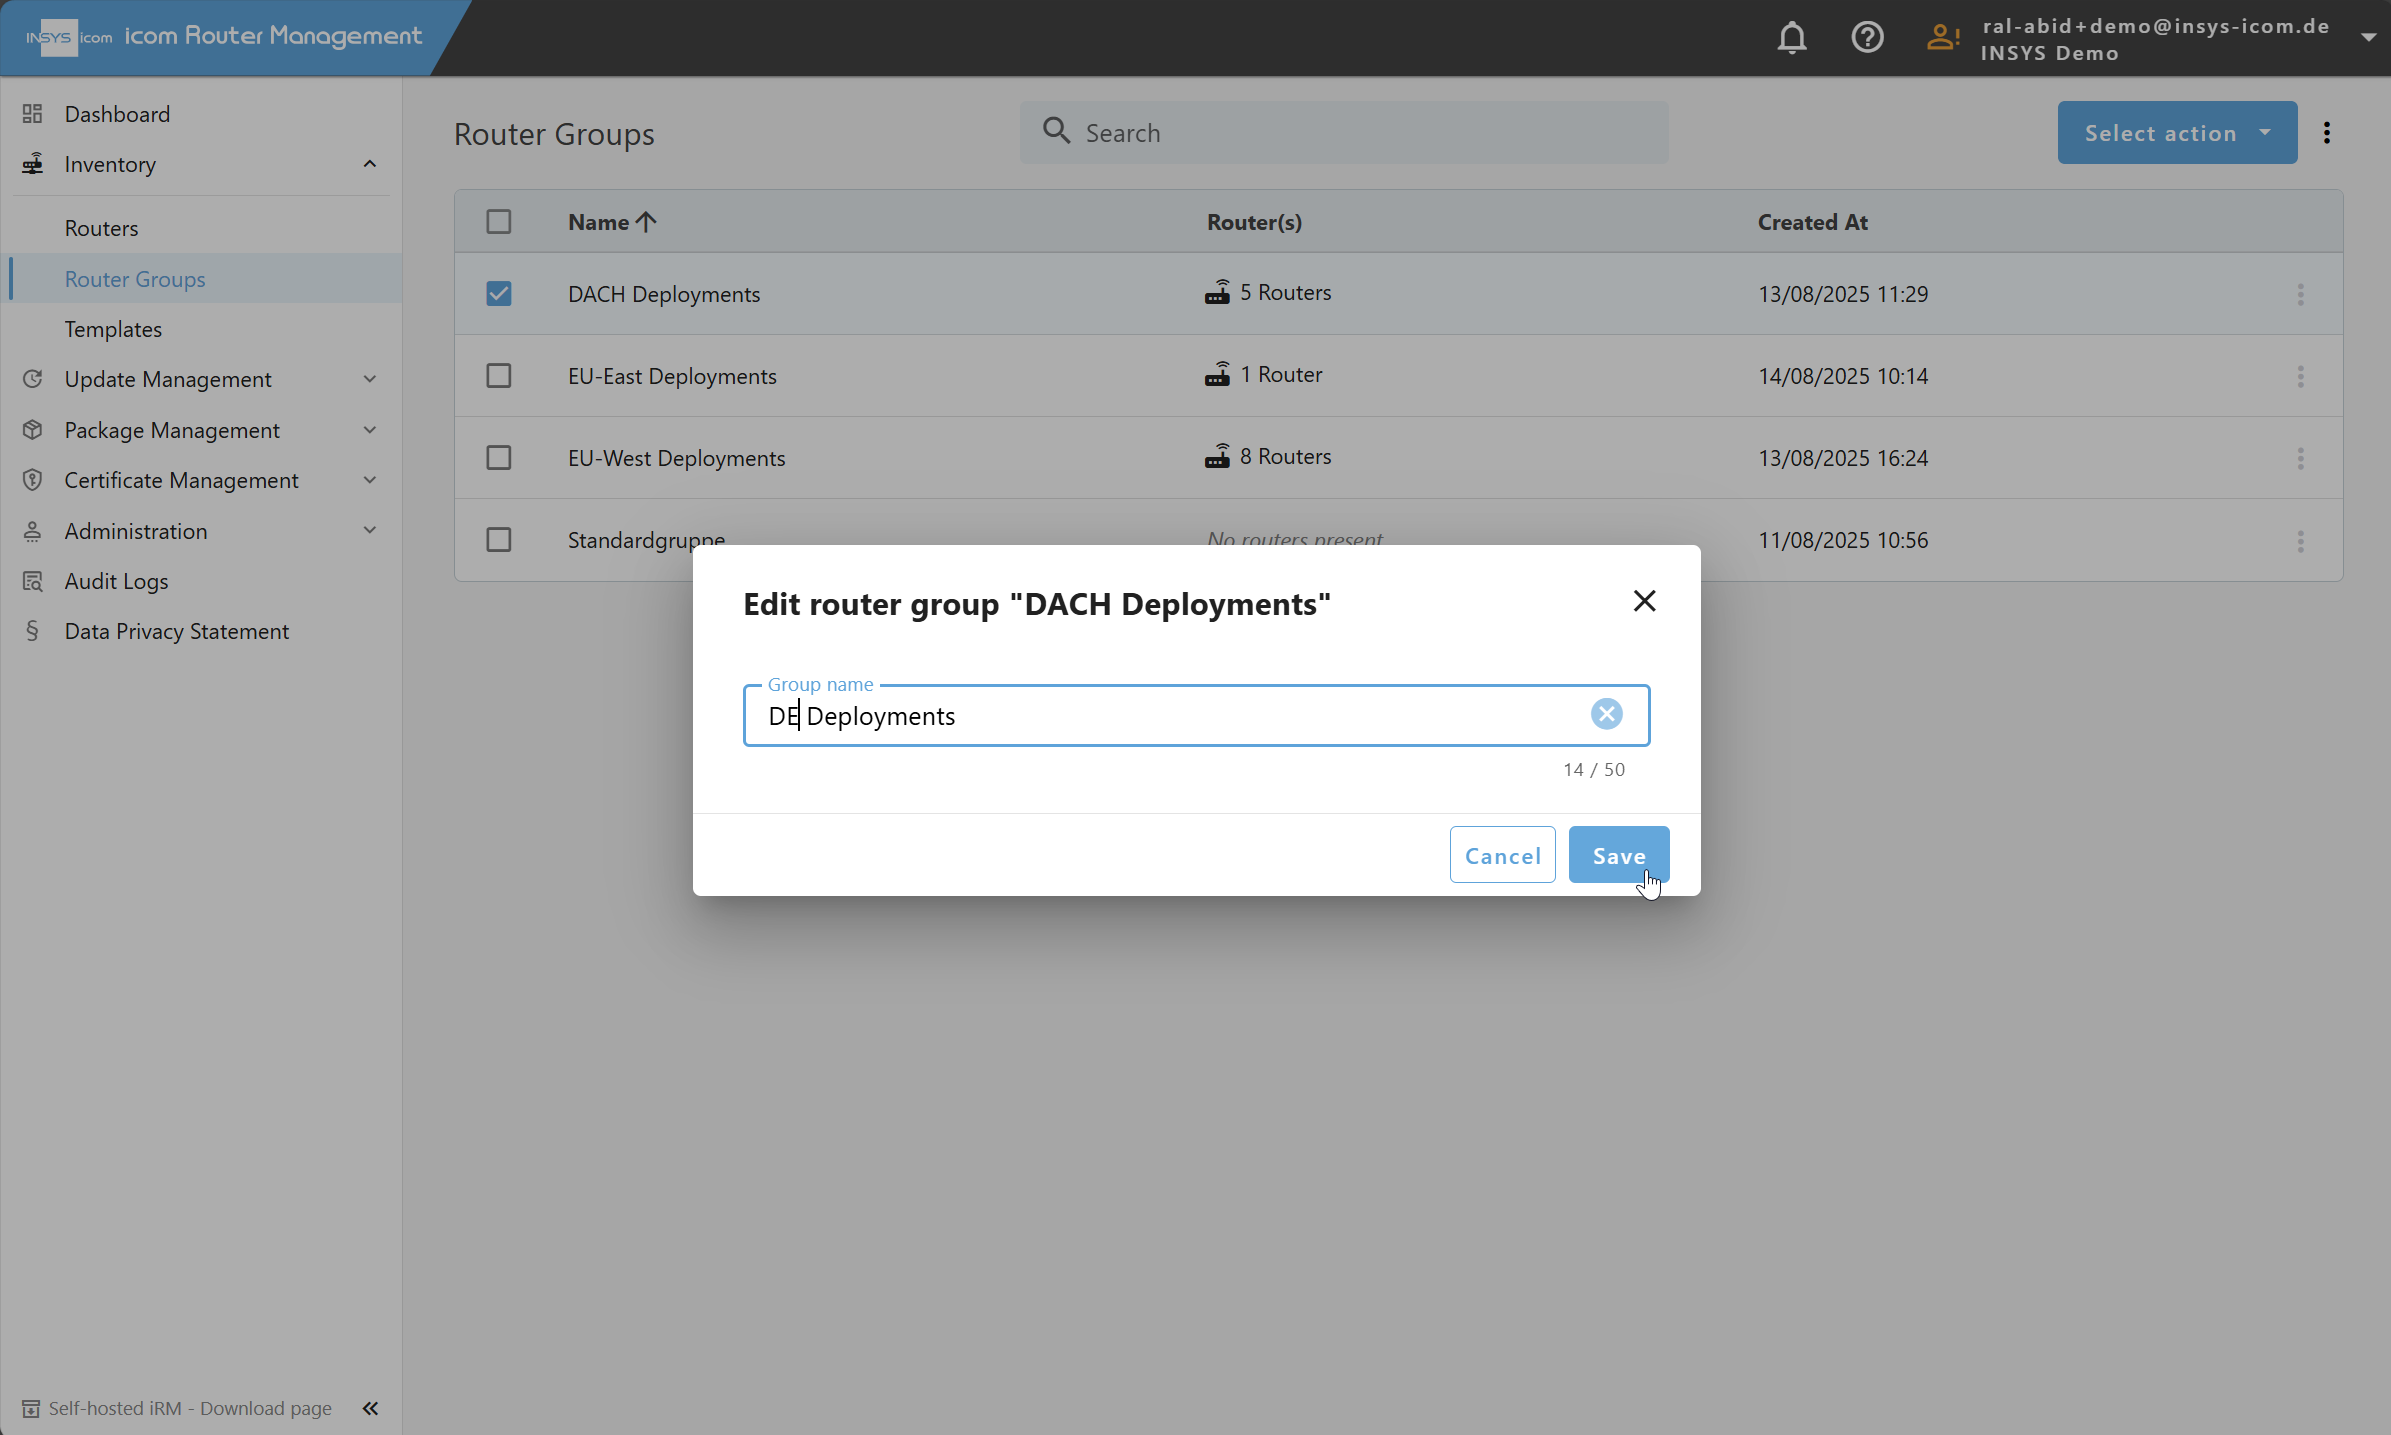
Editing Router Groups
Router groups can be modified at any time to accommodate changing network structures or management requirements.
To edit a group:
Navigate to Inventory → Router Groups.
Select the group from the router groups list.
Click on the Select action dropdown.
Click Edit router group.

Modify the group name.
Save changes to update the group.
Adding Routers to a Group
Navigate to Inventory → Routers.
Select one or more routers from the table.
Click on the Select action dropdown.
Choose Add to group.
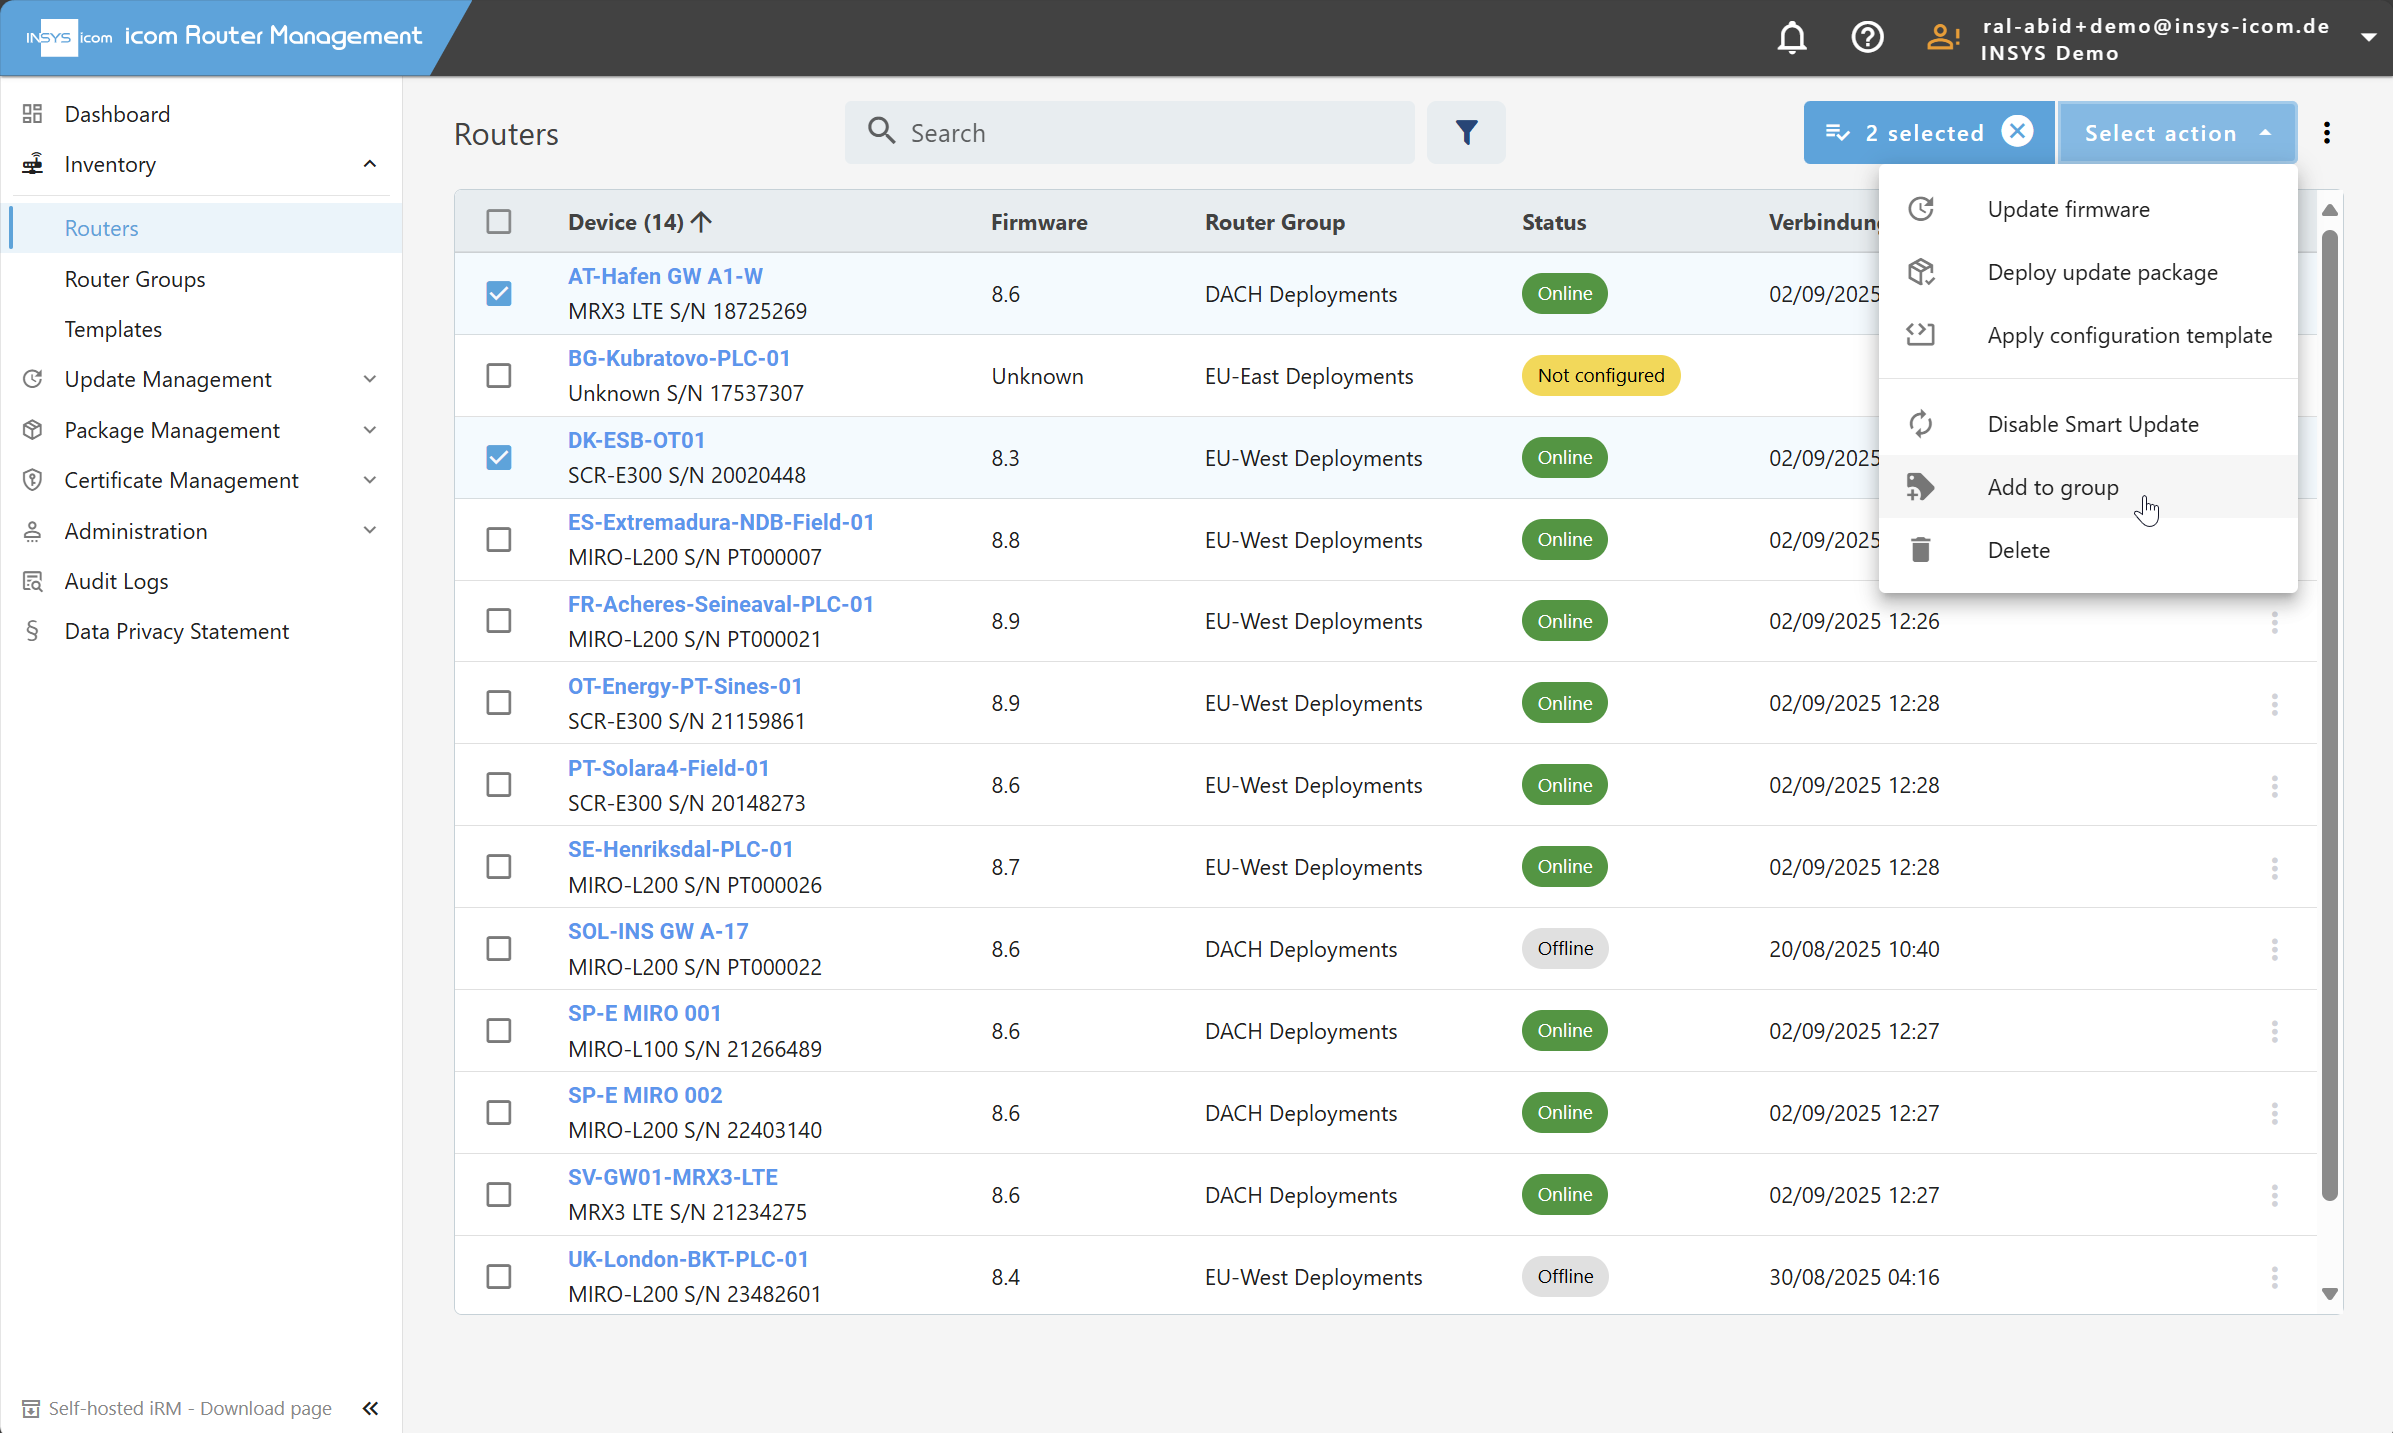
Select a router group from the list.
Click Save to confirm the addition.
Moving Routers to a Different Group:
Note
This action moves all routers from one group to another.
Navigate to Inventory → Router Groups.
Select the group that contains the routers you want to move.
Click on the Select action dropdown.
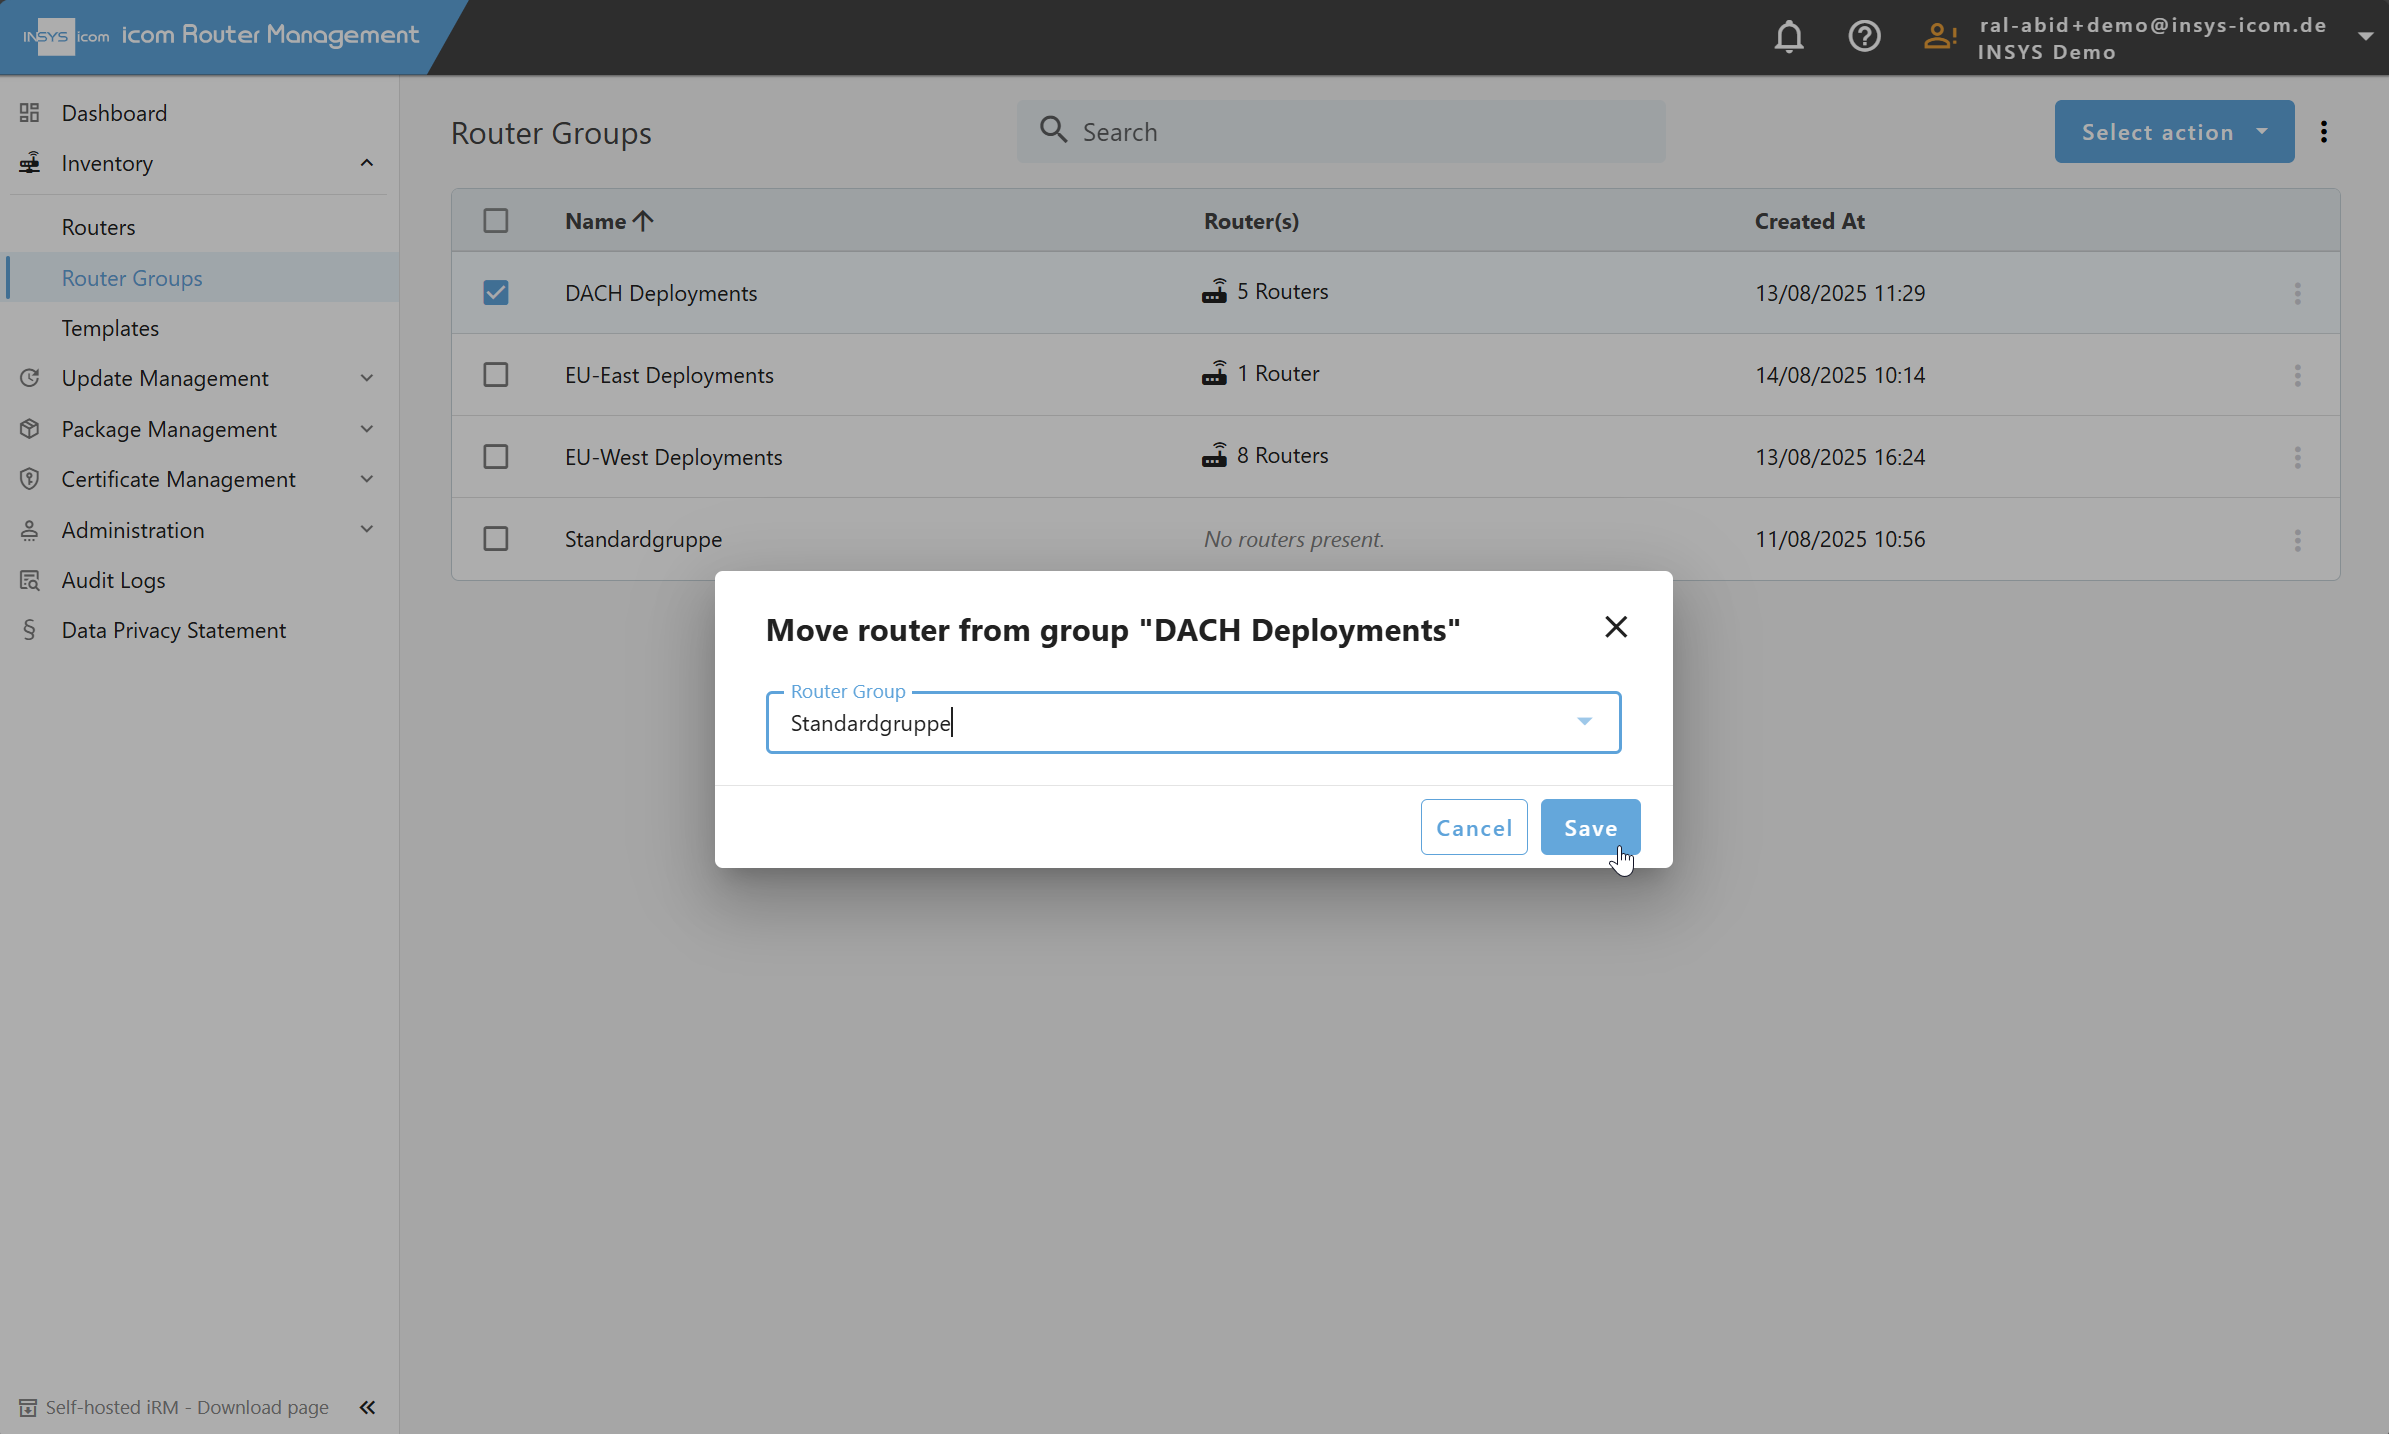
Choose Move routers.
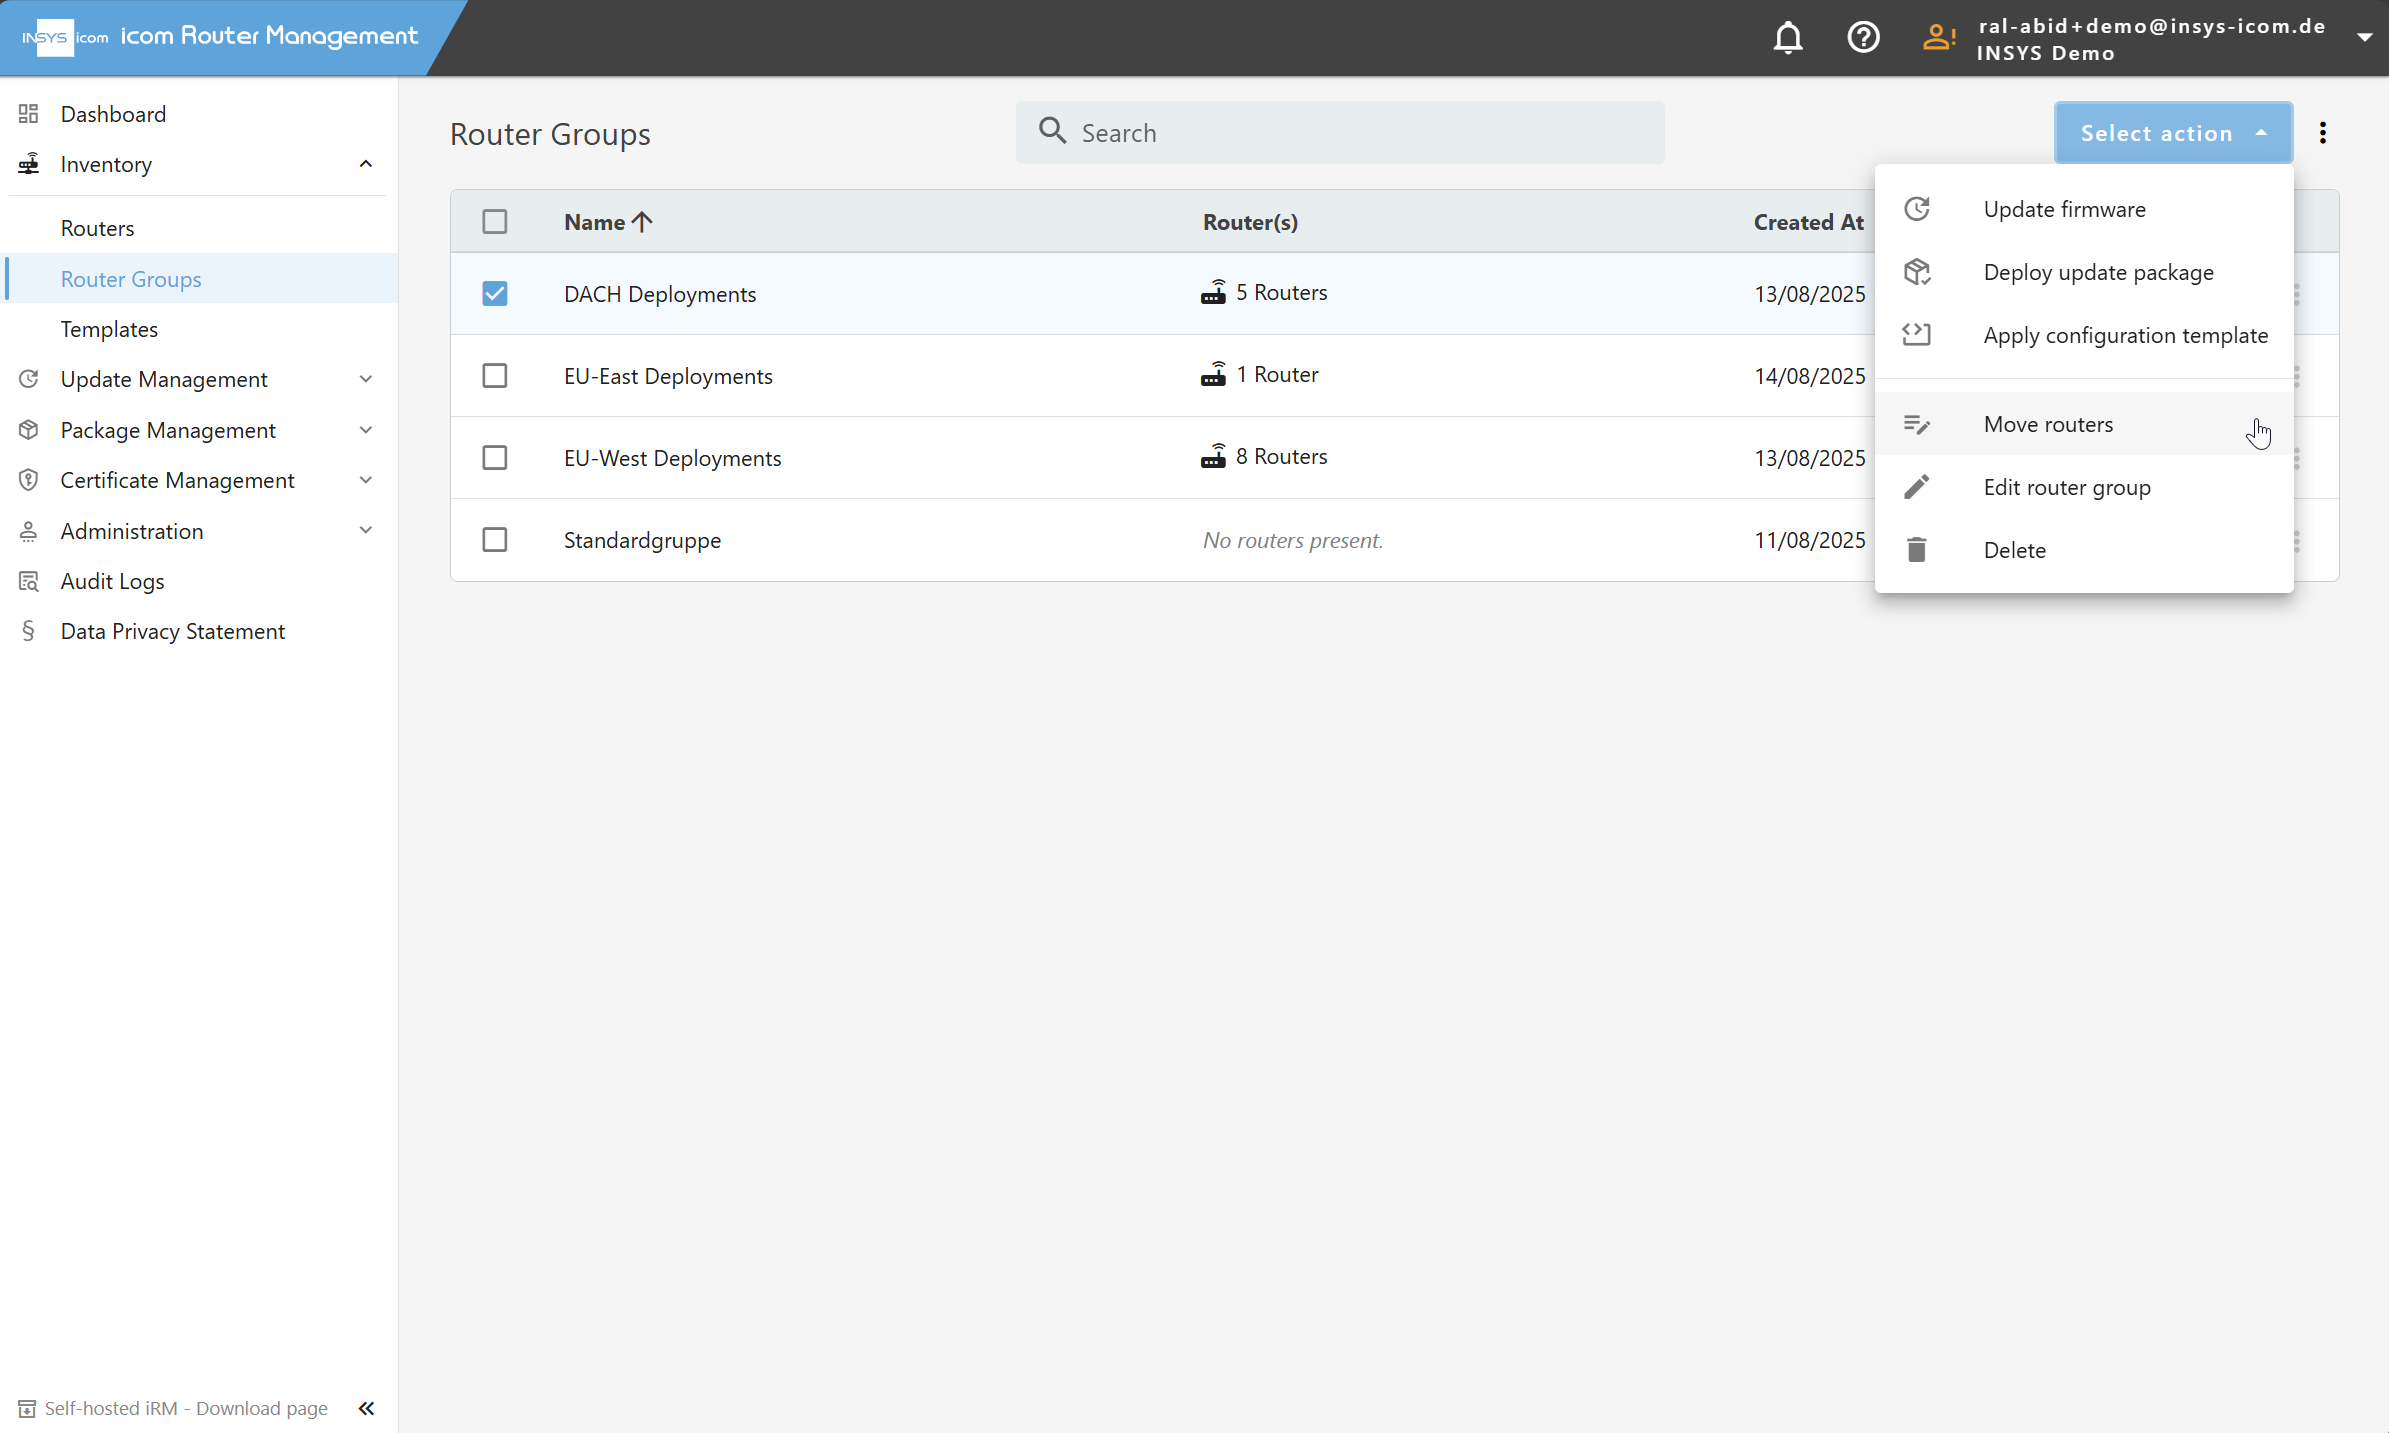
Select the target group.
Click Save to finalize the move.
Note
To move only specific routers from one group to another, follow the “Add routers to a group” instructions above.
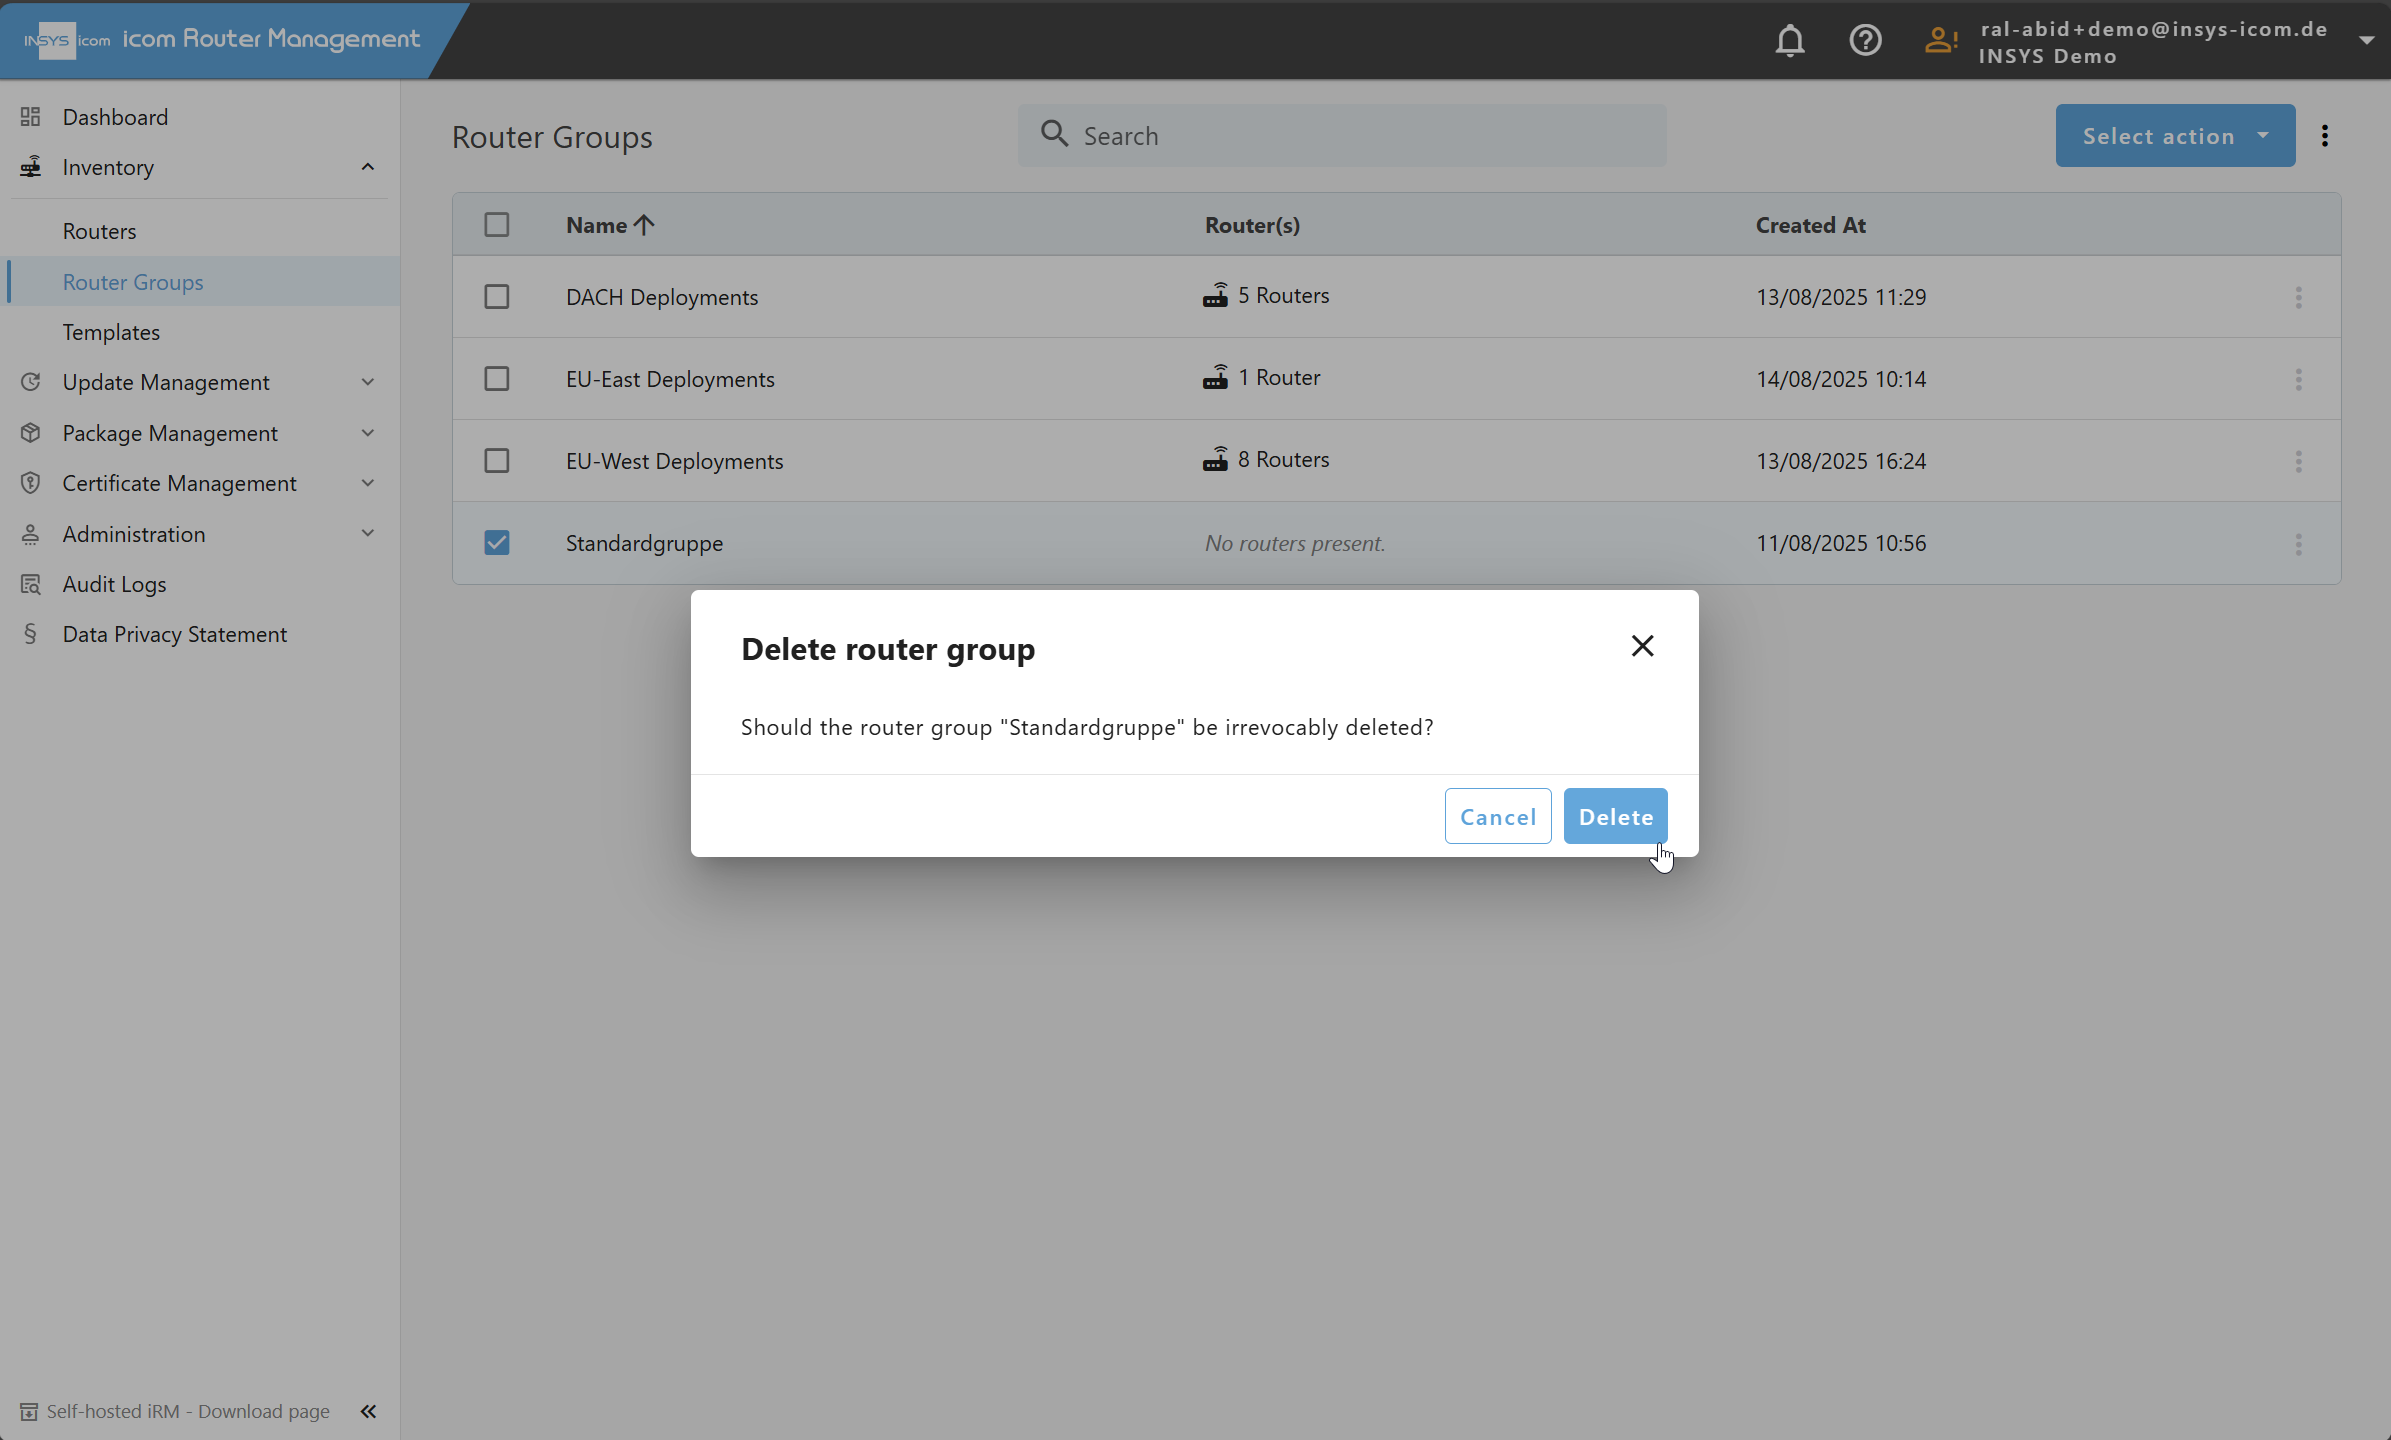
Deleting a Router Group
If a router group is no longer needed, it can be deleted without affecting the routers themselves.
Note
To be able to delete a router group, ensure that all routers have been moved to either the Standard group or any other group.
To delete a group:
Navigate to Inventory → Router Groups.
Select the group to be deleted.
Click on the Select action dropdown.
Click Delete group.

Confirm the action by clicking on Save.
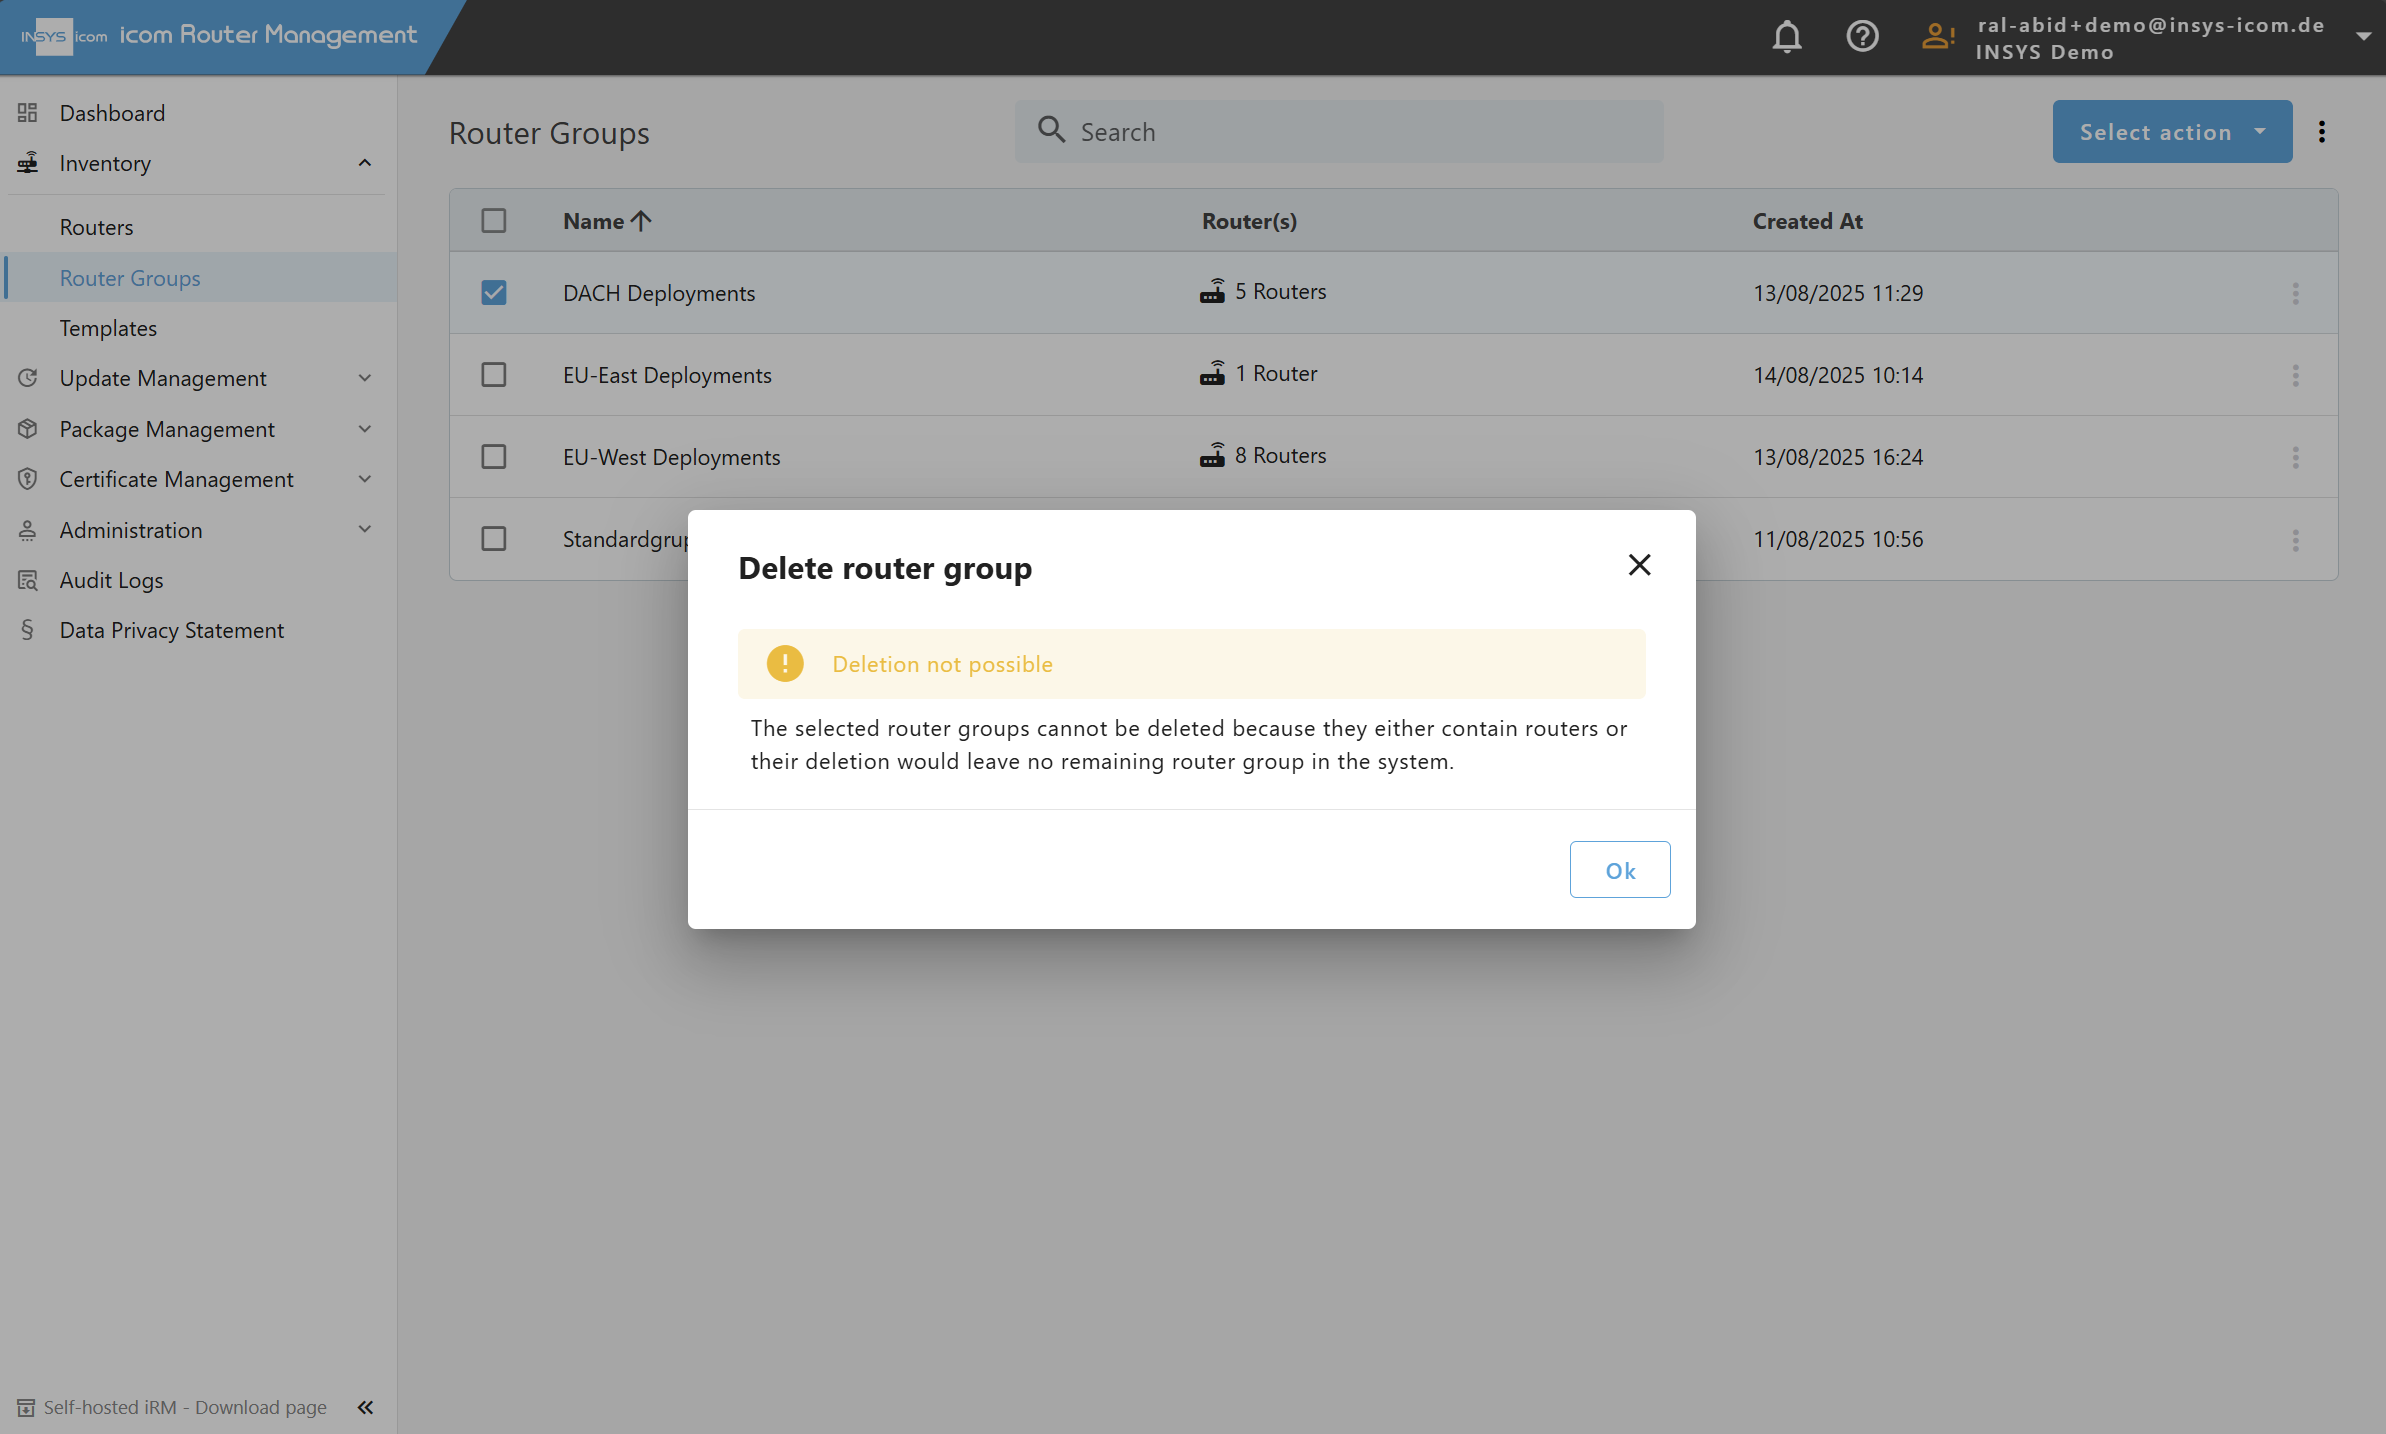
If you see a pop-up like shown above, the router group still contains routers. Make sure to move them to a different group before.